Set Print Area and Page Break
Set Print area
- Click 'Page Break Preview' button from ribbon menu, and then screen setting is changed to page break preview.
- Select cell range of printing in sheet, right-click and then select 'Set Print Area' menu.
Tip
After setting print area, selected range is surrounded by blue frame.
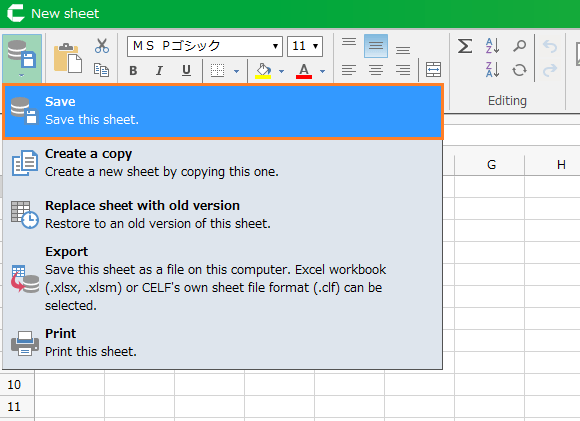
- Save sheet.
Insert Page Break
- In page break preview, select the cell under the location to break, right-click and then select 'Insert Page Break' menu.
Tip
After inserting page break, added new break location is displayed with blue solid line.
- Save sheet.
See also
- See Print the sheet for more information on print settings.
- See Set Print Title (Title Lines) for more information on row settings for print title.
Tip
When you export the CELF sheet to Excel, the set printing range, manually inserted page break position information, the set print settings, and the Print Title (Title Lines) will also be exported.
Attention
The page break position may differ depending on the display magnification rate set on the device. In that case, adjust the display magnification ratio to the value when page breaks are set.
Also, the following restrictions apply to the print settings exported to Excel.
- If a manual page break is inserted, the scale value (scaling factor) calculated by CELF will be applied to the Excel sheet. This may cause the layout to be somewhat smaller in the exported Excel sheet.
- The page break position may differ between CELF and Excel except for the page break position manually inserted.
Related keywords
form, report, printer, print