Useful settings for CELF
The CELF application allows you to set up filters and fixed frames, just like Excel.
This page shows you how to set up the useful features of CELF.
Open the sheet to be set
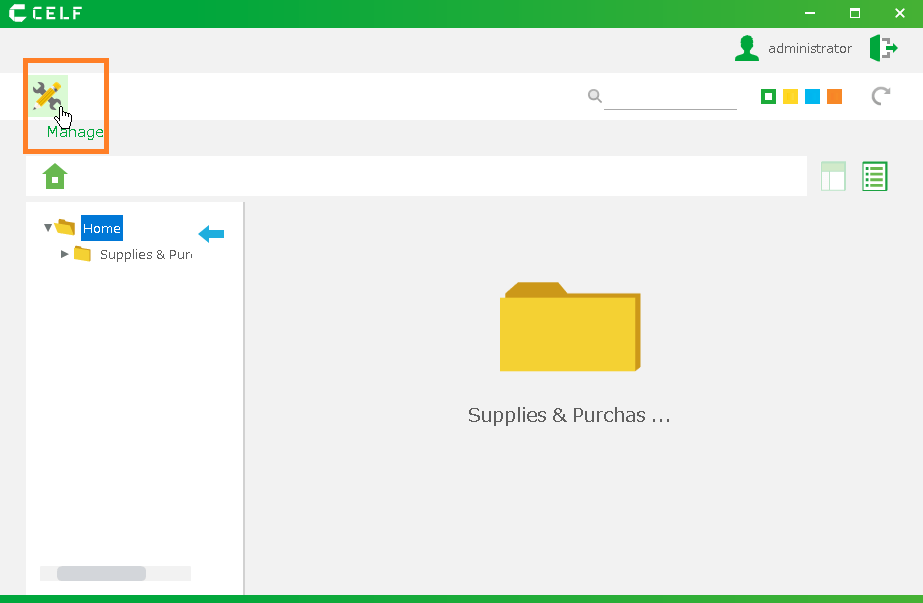
1.' Login ' to CELF and click the "Manage" button to open the management screen.
Tip
The "Manage" button appears when you are logged in as an administrator.
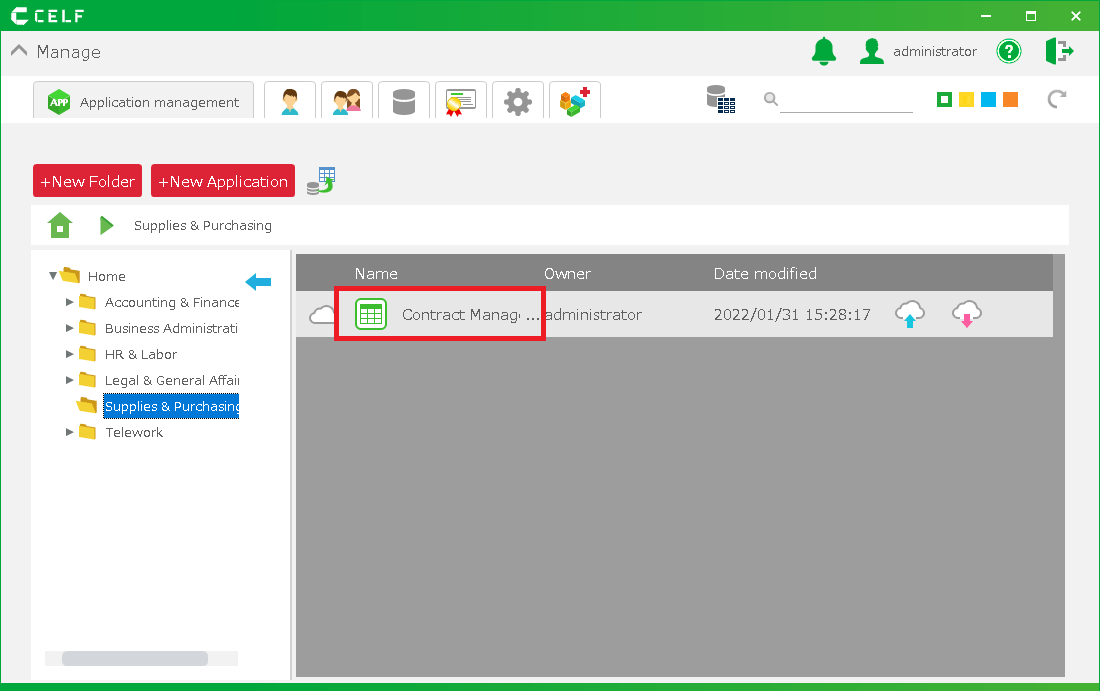
2.Double-click the app you want to set up.
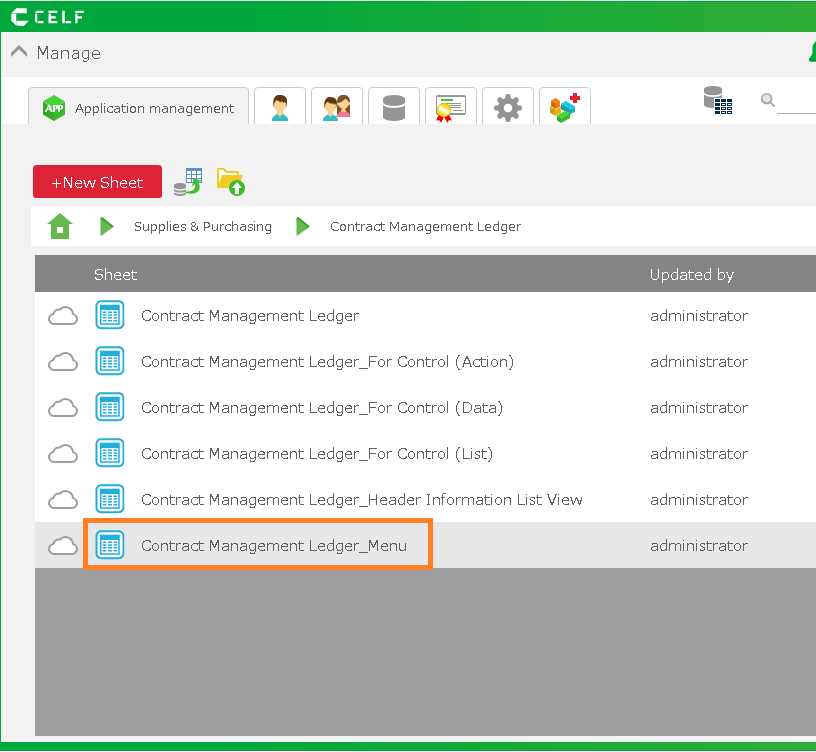
3.Double-click on the sheet (screen) you want to configure. These settings are made for each sheet (screen).
Sheet settings
- You can configure the number of rows and columns in this sheet (screen) and show/hide the borders between the matrices.
- This is a setting that hides the print and Excel output buttons in the Publish
Filter settings (screen)
- Select the cell you want to apply a filter to, then right-click and select "Filter(L)".
- To cancel the filter, select "Filter Cancel (L)".

Filter settings (action)
- Drag and drop "Set filter range" in "Cells" tab.
- Enter a range to filter.
- You can cancel the filter by setting the "Cancel filter range" action.