Display the 'last updater' and 'last modified date' information on the Header Information List Screen
Attention
Edit the Header Information List Screen
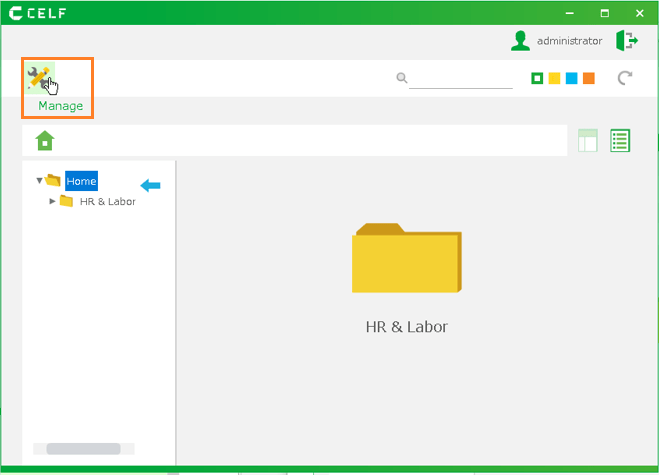
Login to CELF and click the "Manage" button to open the administration screen.
Tip
The "Manage" button appears when you are logged in as an administrator.
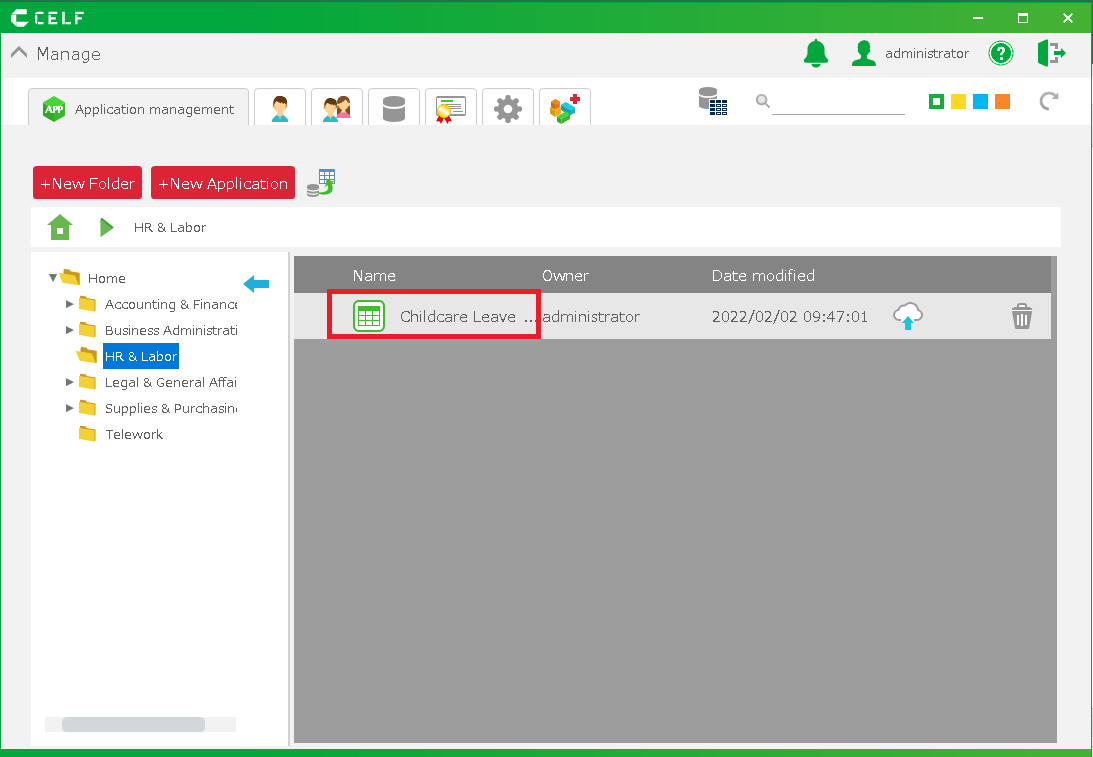
Double-click the app.
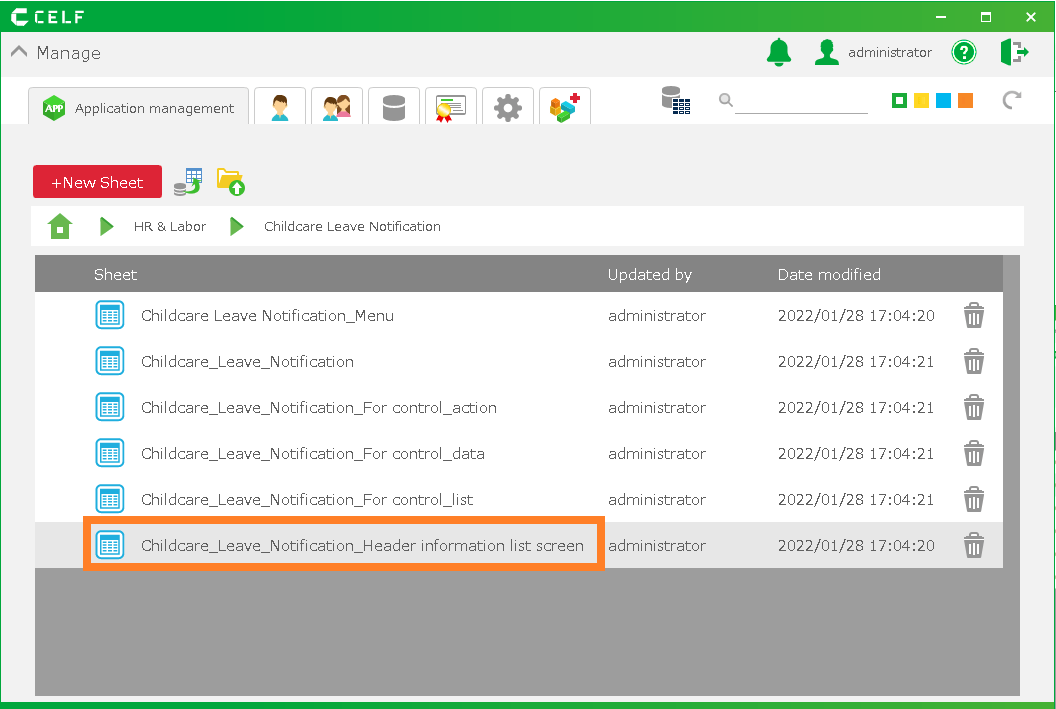
From the sheet, select the Header Information List Screen and double-click it.
Tip
In this case, the "Notification of childcare leave_Header Information List Screen" sheet becomes the Header Information List screen.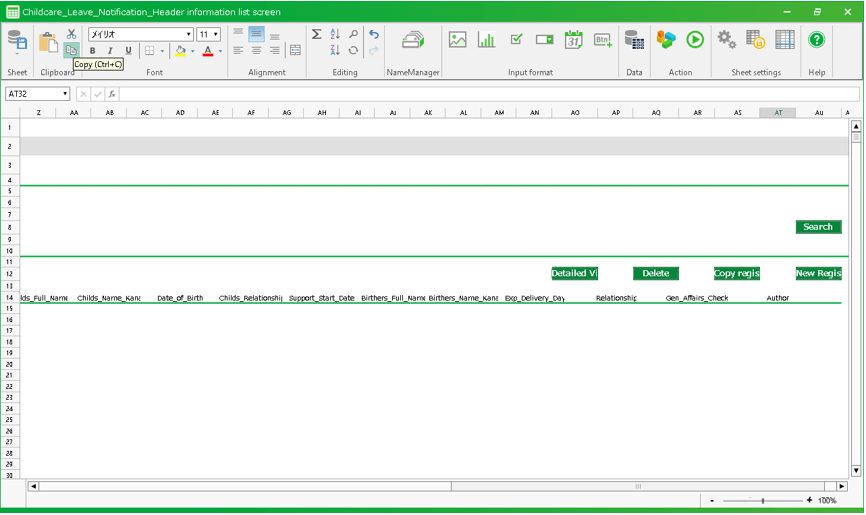
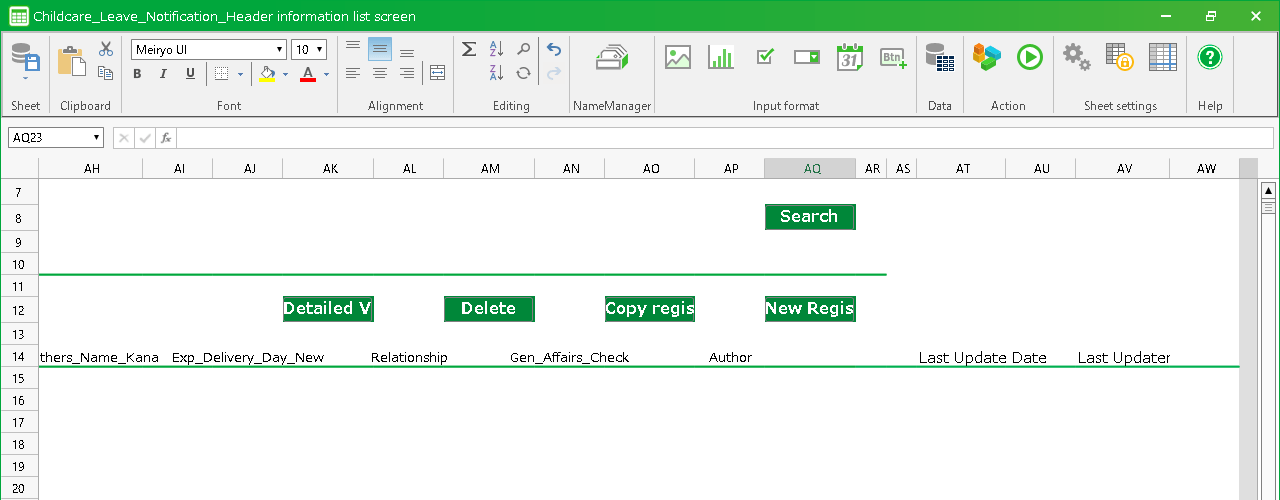
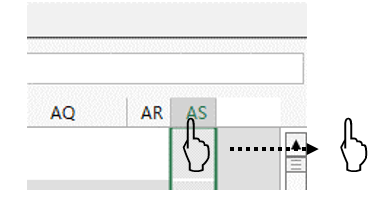
Display the hidden column on the right side of the screen. Place your mouse pointer over the rightmost column heading, hold down the left mouse button and move the pointer to the white column name and release the left mouse button.
Right-click on the column heading at the far right of the column and click on "Unhide" in the menu that appears.

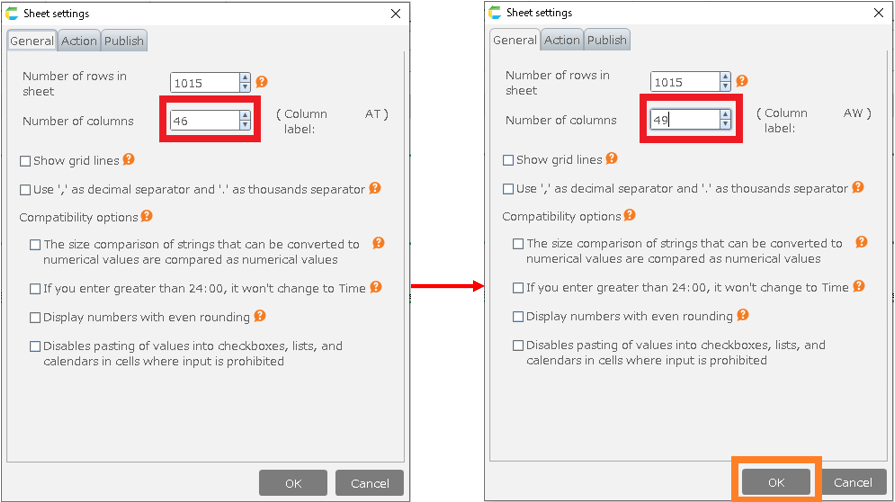
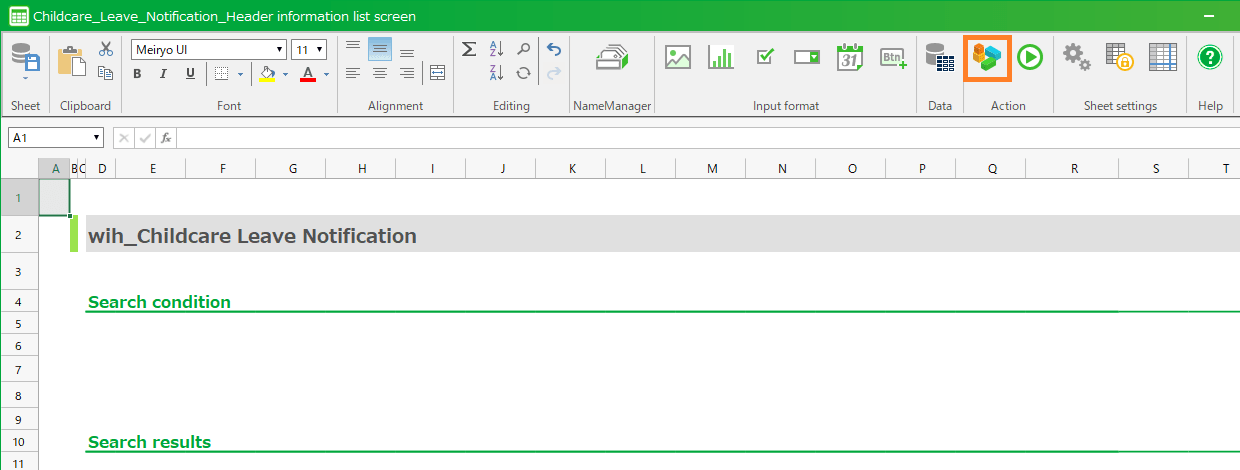
Click the gear icon on the top ribbon.

Increase the number of rows by 3 and click the "OK" button.
Enter "Last Updater" in the cell to the right of "Last Modified Date".
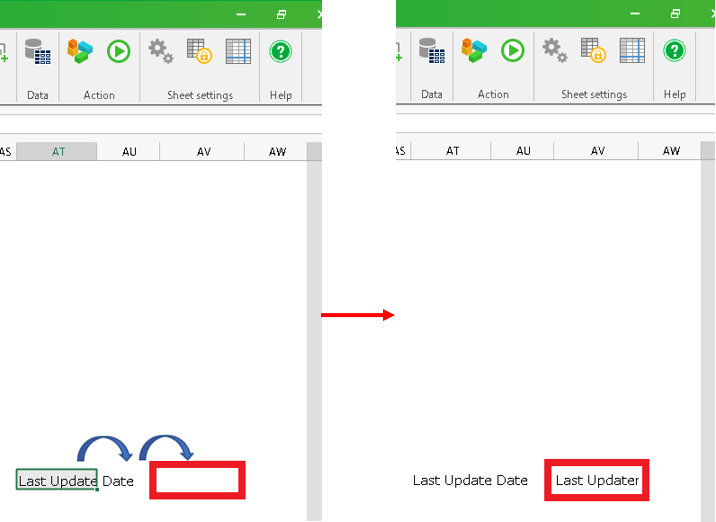
Adjust the width of the "Last Modified Date" and "Last Updater" columns.
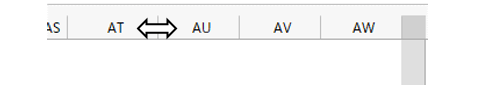
Hint
If you hover the mouse over the right side of the column heading, the cursor will change to "↔".If you hold down the left mouse button and move the mouse left or right, the width of the row will change.Change the font. Along with the other items, the font should be "MeiRyo" and the size should be 10pt.

Tip
You can change the formatting of the entire sheet by selecting the entire sheet and changing the font and size.
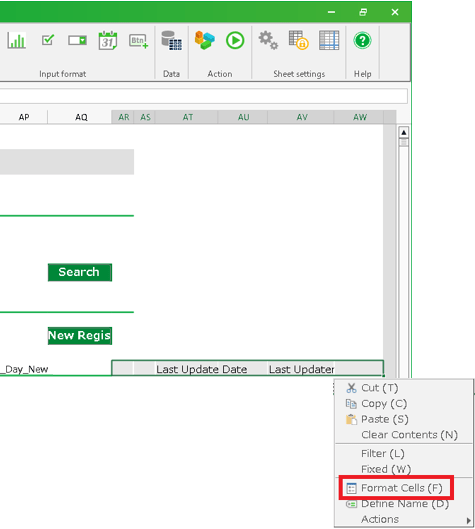
- Extend the rules. Select from the two columns to the left of "Last Modified" to the one column to the right of "Last Updater".
- Right-click on a cell in the selected range.
- Select "Cell format settings" from the menu that appears.
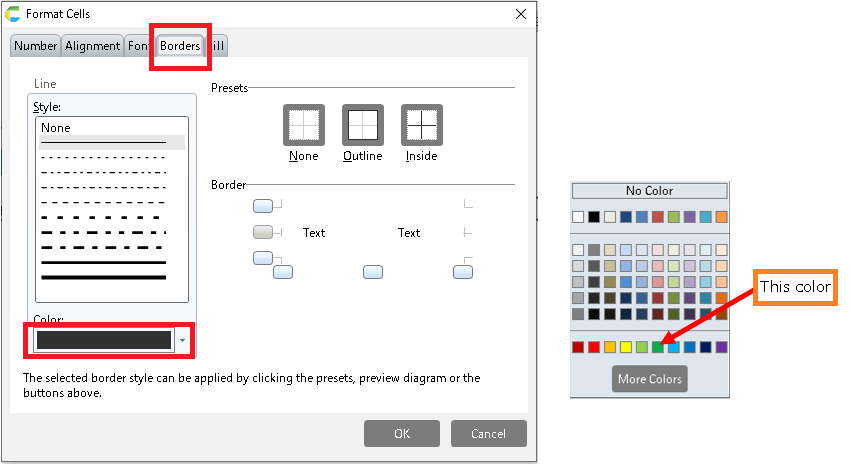
- Select the tab "Borders" and select green for the "Colors" selection.
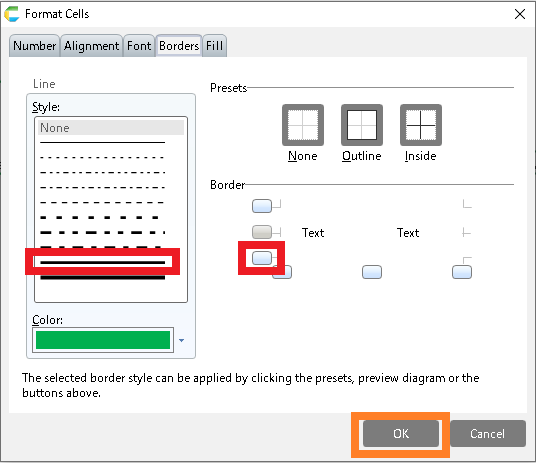
- Select "Style" and underline for "Border" and click the "Confirm" button.
That’s all you have to do to edit the screen. Now we can change the content of the action.
See also
If you want to change the position of the button, cut the button (Ctrl + X) and paste it to the location you want to move it to (Ctrl + V).
If it is above the list, you can move the button anywhere you want.
For details, refer to "Customize Header Information List Screen".
Edit the action (logic) in the Header Information List Screen

Tip
Open the action set
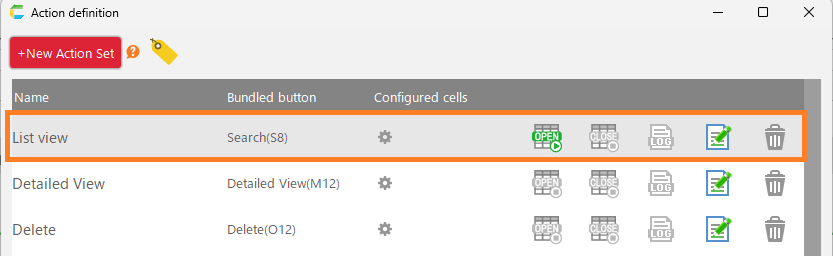
Click the "Action set settings" button in the upper right corner of the screen.
Double-click the action name "List view".
Extend the clearing range of the list section
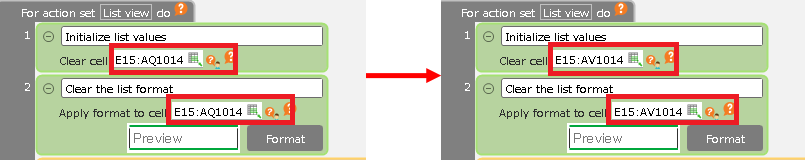
Change the range of initialization (reverting to the initial state) of the first and second lines in the action set on the right side of the action settings screen.
Tip
Here, the range up to the AQ column is changed to be up to the AV column.The column you added when you edited the screen is the AV column in this example.
Adjust the width of the "Last Modified Date" and "Last Updater" columns.
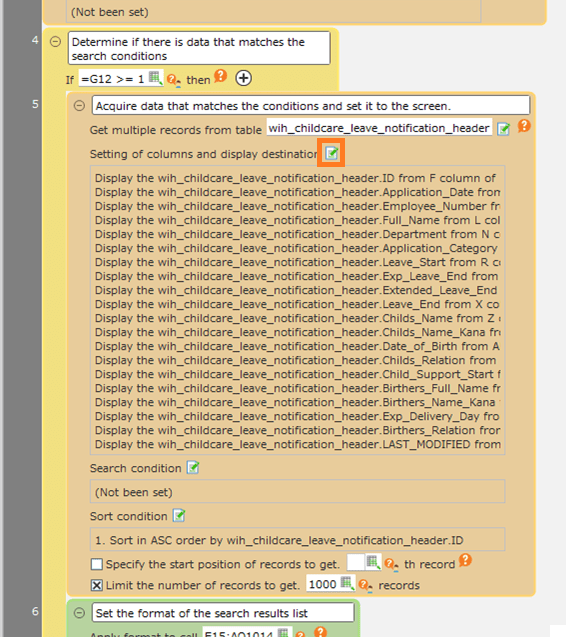
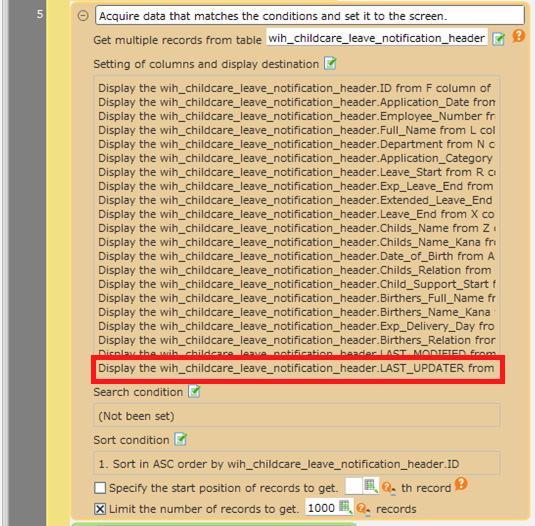
Look for the orange action "Acquire data that matches the conditions and set it to the screen" and click the button to edit the "Columns to display anddisplay destination settings".
Scroll to the bottom of the "Please select column to show" bar.
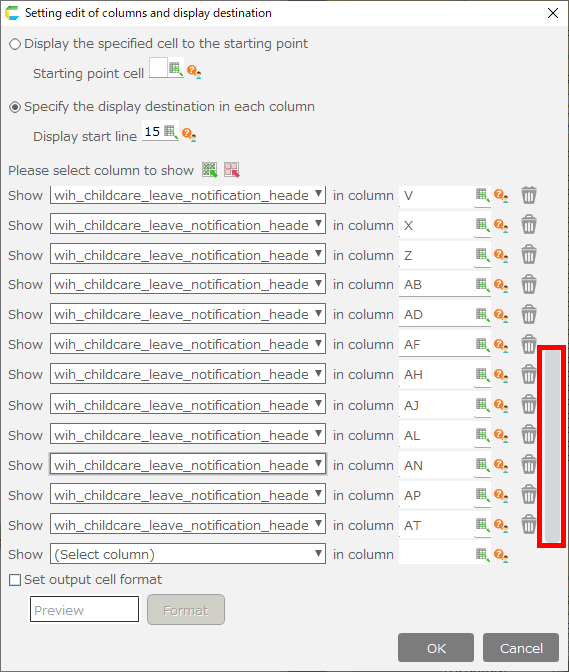
Click "(Select Column)" at the bottom and select "LAST_UPDATER" from the list displayed.
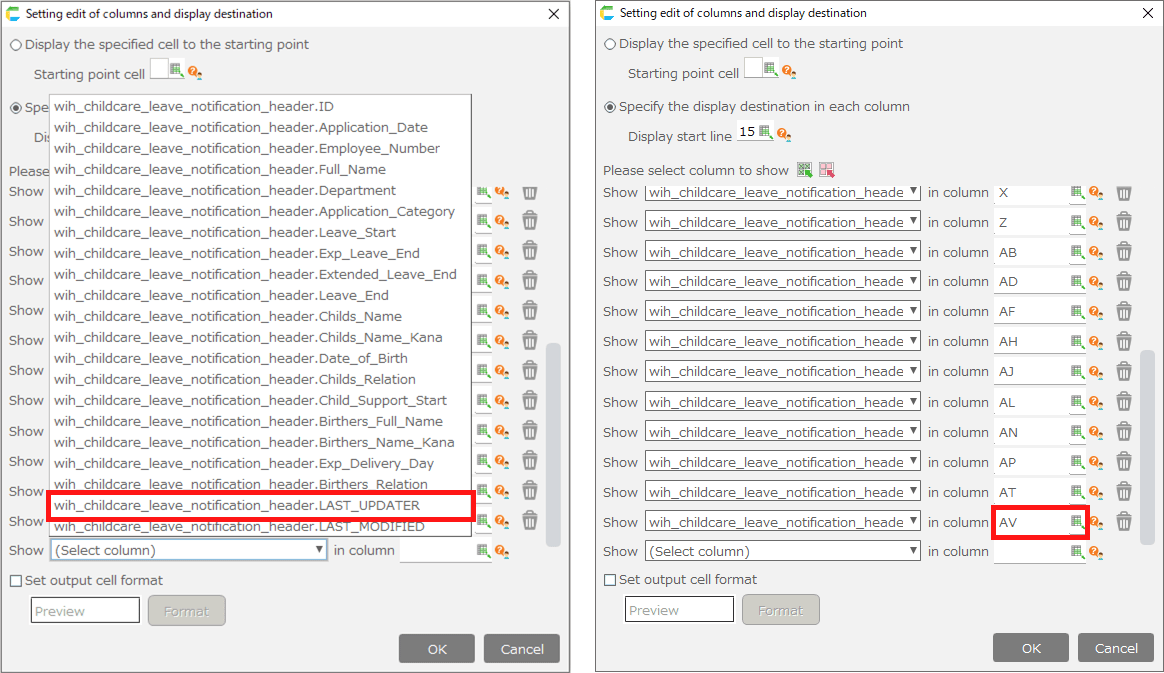
For the column of the added item, set the column two columns to the right of the one specified in the row above and click the "OK" button.
Hint
Here, the "AT" column is set one row up, so we’ll set the column "AV"that is two columns after AT.
Extend the formatting range of a list section cell
Look for the green action "Set the format of the search results list" and change the scope of the formatting.

Hint
Include the columns you just added in the formatting range.Now that we have added 'AV' column, we will change the last column of the formatting range to 'AV'.