Operate in Specified Area
This will explain the settings for operating on a range with fixed width and height that are specified on the screen.
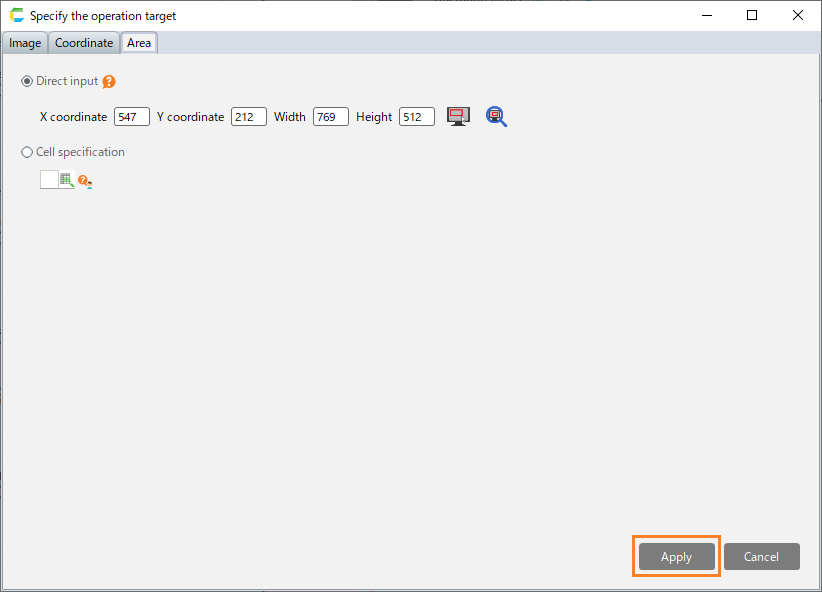
Specify the coordinates and height directly
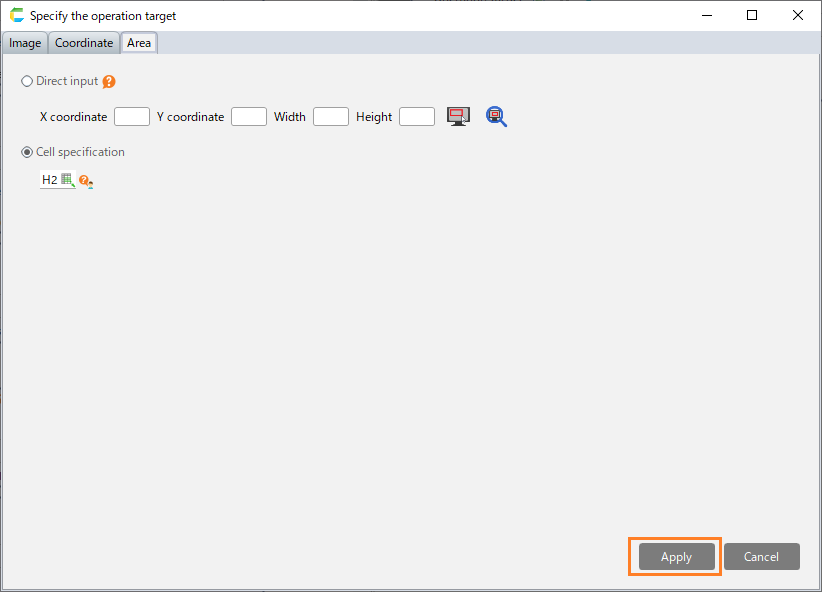
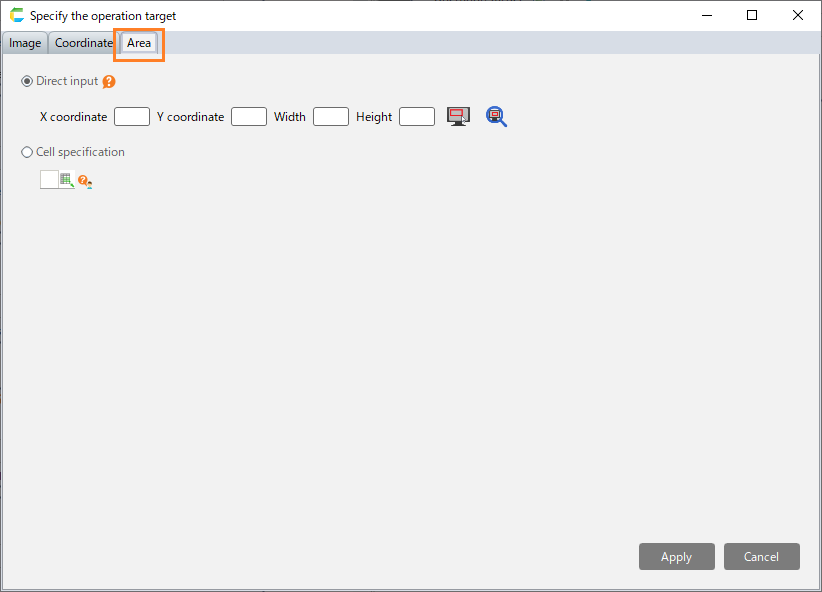
Select the "Area" tab in the "Specify the operation target" dialog.
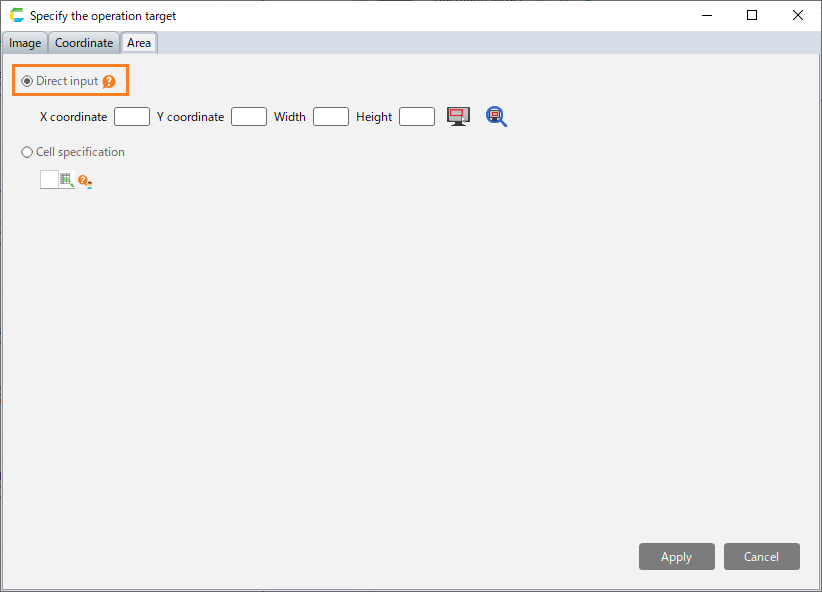
Select "Direct input".
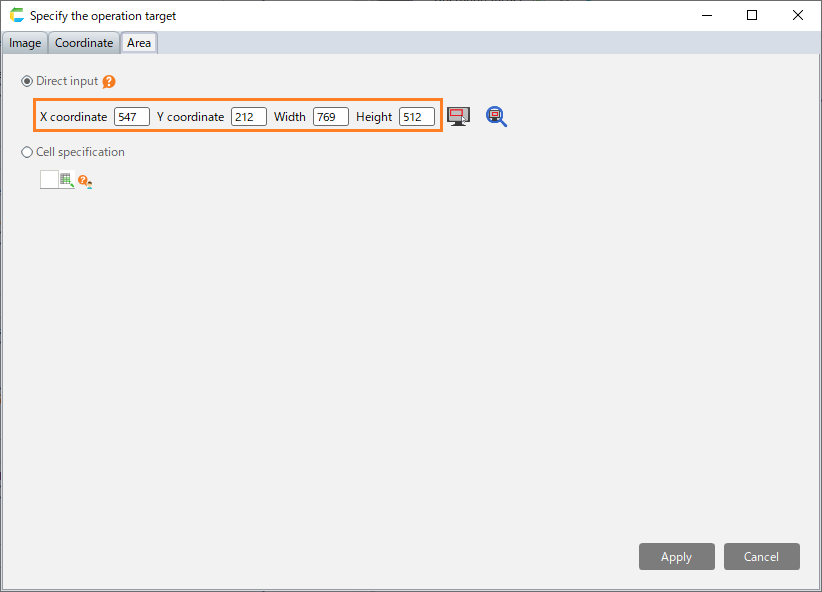
Set the coordinates of the upper left corner, as well as the width and height of the area where operation will be performed.
Hint
The upper left corner of the screen is the origin (0, 0), while the the X coordinate represents the position of the right direction of the screen, and the Y coordinate represents the position of the downward direction of the screen.
Hint
When you click the area selection button, you can set the operation position by mouse operation.Hint
When you click the area confirmation button, you can display the specified area on the screen with a red frame.Click the "Apply" button.


Use the coordinates set in the cell
Select the "Area" tab in the "Specify the operation target" dialog.
Select "Cell specification".
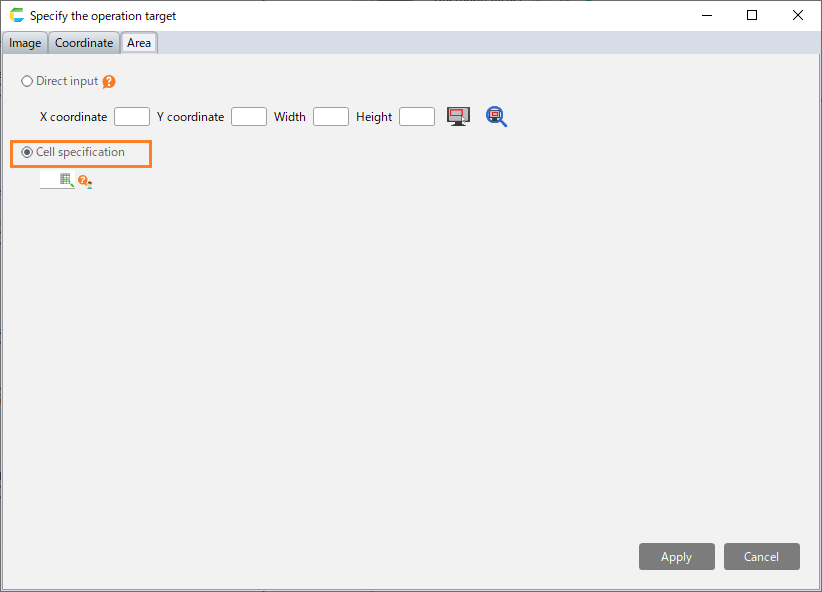
Set the reference cell coordinates.

Hint
You can use the coordinates and area that have been set through "Set the position and size of the operation target to the cell" in each robot action.
Click the "Apply" button.