Sample Excel tutorial in Single form format
This is a tutorial on the ability to create an app from Excel.
This page will walk you through the process of creating an app from an Excel sample in Single form format.
App settings
1. Select Application type
Select the radio button for the application type 'Single form' and click the 'Next' button.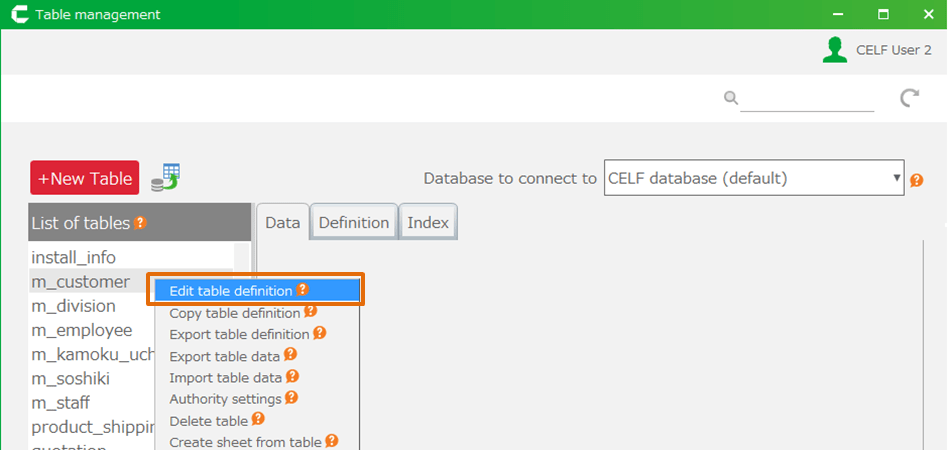
See also
Click How to use automatically created applications for how to use the created app.
2. Specify data range
Specify the data range of the imported sheet.The sample Excel contains header information and list data, which requires to specify the data range for the data header and the data list.
Tip
Header information is used to refer only to a specific single form when multiple forms exist.
2-1. Header specification
- Click the 'Select Input Cells' button from the header tab of the 'Specify Data Range' dialog.
- When you finish selecting all input cells, click the 'Set' button.
Tip
The sample Excel will have the following cells as input cells.
- B5
- N3
- N5
- D20
- D24
- J24
- B40
Tip
Multiple cells can be selected by holding down the Ctrl key while selecting cells, such as 'A1,B1'.Specifying input cells does not require selecting all cells at once.If there are many cells to select, this process can be performed several times.
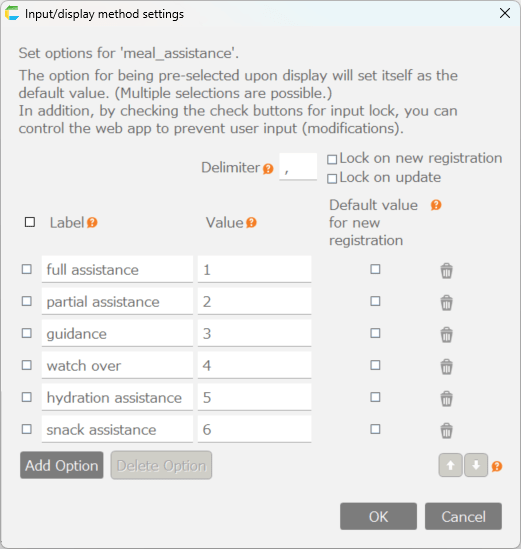
- When the 'Label Settings' dialog box opens, click the 'OK' button.
Tip
The default value of the label name is the value of the adjacent cell of the cell selected as the input item, which is used as a candidate label name.You will need to set up your own label name for the items labeled 'No label'.
- When the 'Specify Data Range' dialog box displays what you have just specified, the header specification is complete.
2-2. Table specification
- From the "Table" tab of the 'Specify Data Range' dialog, click the 'Select the input range' button.
- Select the title row of the 'Table' and click 'Set.' In the sample, 'C28:M37' is the title row.
- When the 'Label Settings' dialog box opens, click the 'OK' button.
- When the 'Specify Data Range' dialog box displays what you have just specified, the table specification is complete.

2-3. Complete the specification
When you have finished specifying tables and headers, close the 'Specify Data Range' dialog and click the 'Next' button.
Tip
To open the 'Specify Data Range' dialog again, click on the preview screen.
Specify input items
This screen allows detailed settings for the input items set on the previous screen.Click the 'Next' button.
Tip
To learn more about this screen, click Specify Input Item screen .
Table settings
This screen allows detailed settings for automatically created tables.Click the 'Next' button.
See also
To learn more about this screen, click Table setting screen .
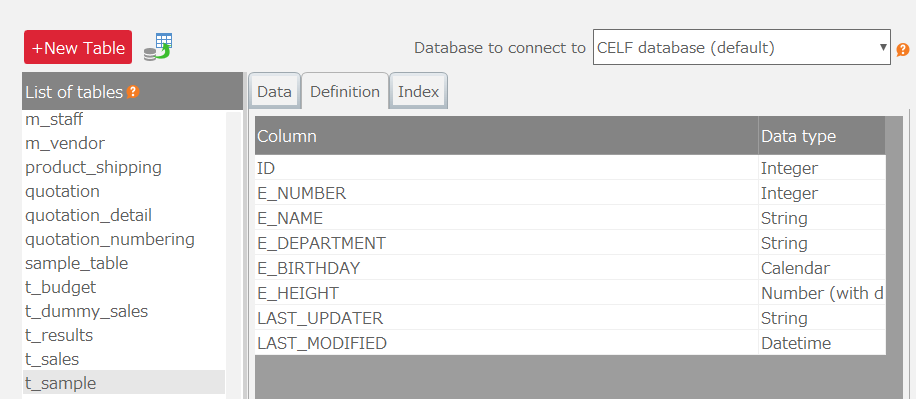
Tip
The Database Table is like a box that stores the data for the application.The application to be created will store data in the table shown here.
Output the app
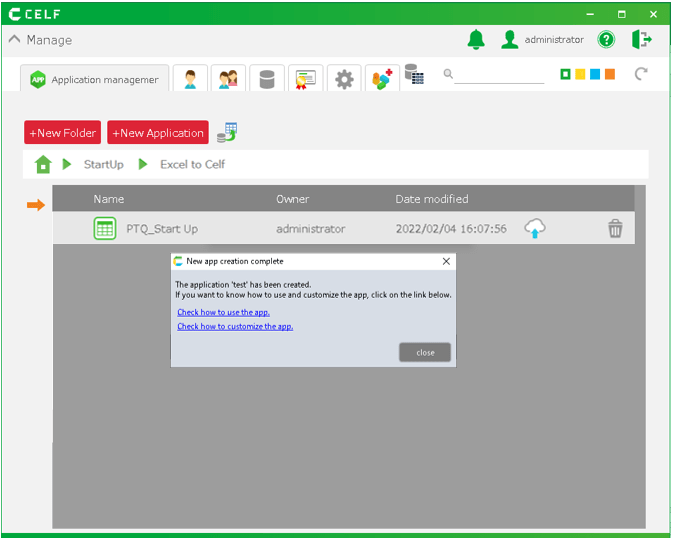
- Click the 'Create App' button.
Tip
This screen shows the screen of the application to be created and the tables to be used.To change the screen name or table name, click on the icon next to the name."
- The app will be created and added to the app list.
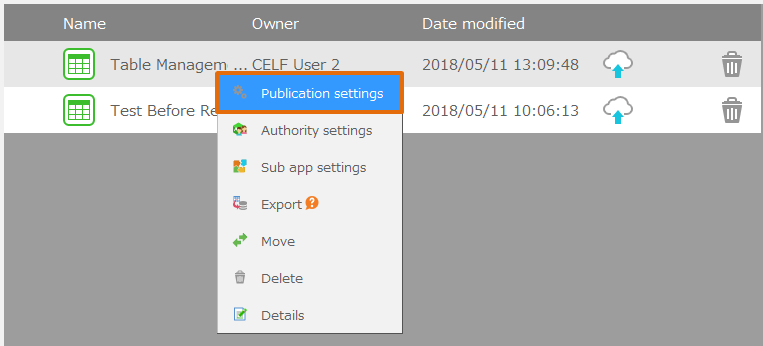
- The app you create can be used by setting the 'Menu' sheet as the start sheet in the public settings.
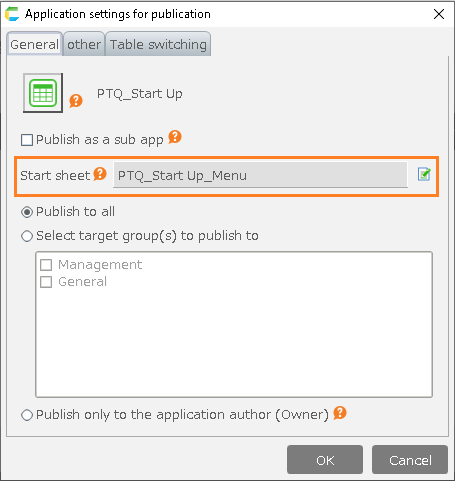
See also
For more information on how to publish the app, please click Publish the application.See also
For more information on the screen, please click Description of operations by screen (list / single sheet).Click How to use automatically created applications for how to use the created app.