Create Table Screen, Action
Here is the flow from creating table, screen and action set to application test.
Create Table
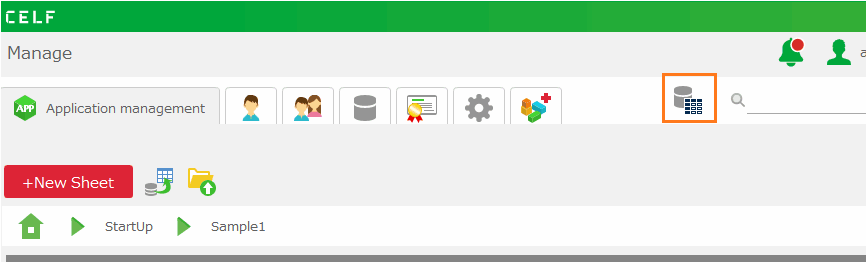
- Click 'Table management' in "Manage" screen, and then 'Table management' view is opened.
- Select 'CELF database (default)' as 'Database to connect to', and then click '+New Table' button in 'Table management' view.
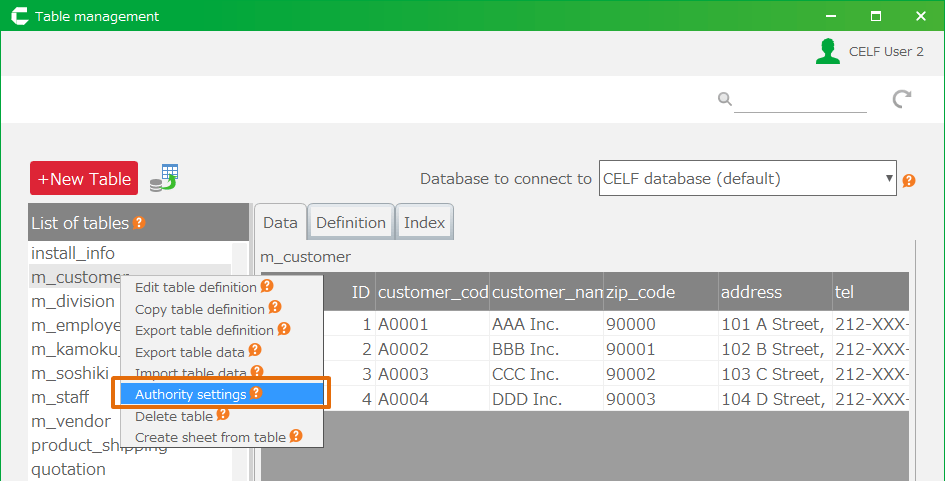
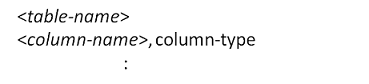
- In 'Create table' dialog, input table name and column information, and then click 'Create table' button.
See also
Regerding table creation, refer Create Table.
Create Screen
- Open sheet edit screen.
- Create screen layout. To register data into 'product_shipping' table, prepare the same cell to input with the table column.

Hint
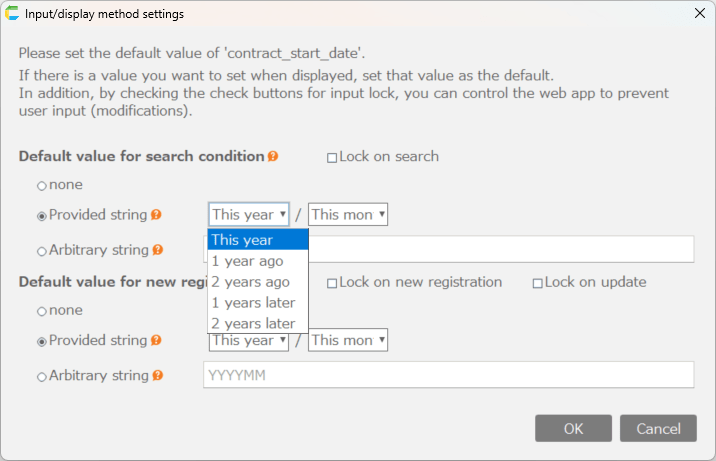
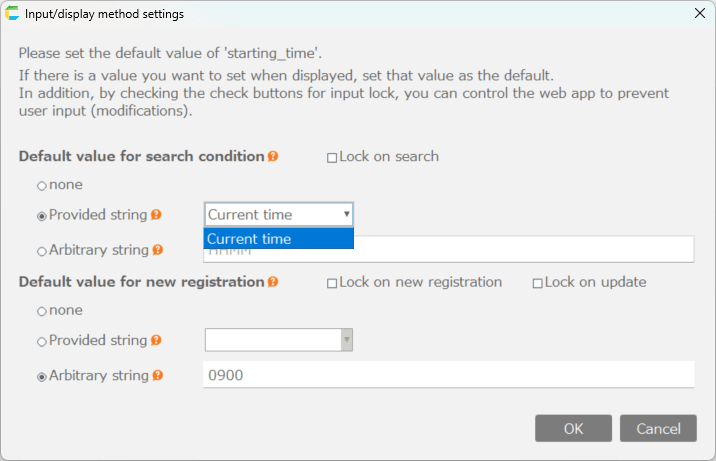
You can set control to input like button or list etc by clicking each control button in input format area in ribbon menu.
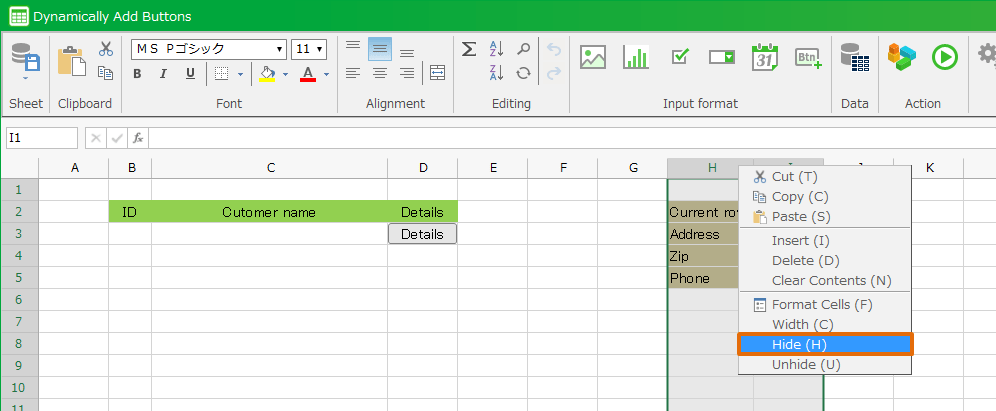
- To set cell for user to be able to input at using, click 'Input limitation' button in ribbon menu.
- In 'Input limitaion' dialog, set cell allowed to input, and then click 'OK" button. Item name, number of shipment, or number of stock are only allowed to input.
Create Action Set
- Open sheet edit screen.
- Click the button on the edit sheet to set the new action set.
- In 'Select action set' dialog, click '+New Action Set' button.
- In '+New Action Set' dialog, input action set name and then click 'OK' button.

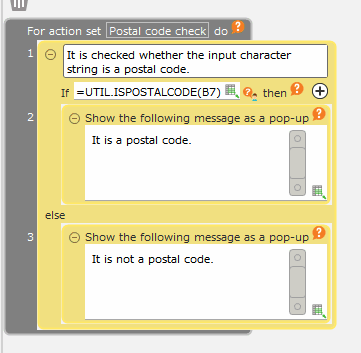
- In 'Action set setting' dialog, set necessary action and then click 'Save' button.
Here, Action to process is set to register data into 'product_shipping' table.
- Display message in case of missing 'Product Number', 'Stock Number', 'Shipment Number'.
- Register data into 'product_shipping' table by setting input value of 'Product Number' to 'product_name', 'Stock Number' to 'stock_number', 'Shipment Number' to 'shipment_number'.
- In 'Select action set' dialog, select the created action set and then click 'Select' button.

See also
Regarding action set creation, refer Assemble Action Set.
Test run
- Open sheet edit screen.
- Click 'Test run' in ribbon menu.
- In save confirmation dialog, click 'OK' button.
Test is run by created application.
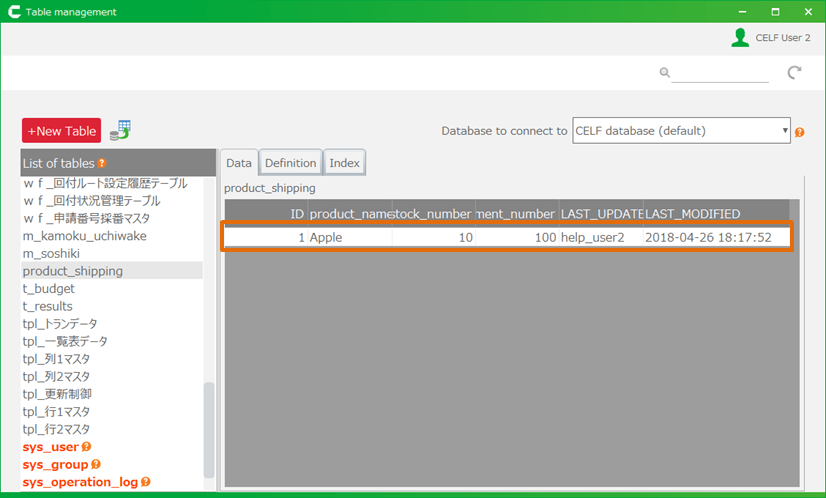
- Input value, click 'Register' button, and then data is registered into 'product_shipping' table.

Tip
The registered data can be confirmed on the data tab by selecting the table in the 'Table management' view and pressing the Enter key or double-clicking.
See also
Regarding Test run, refer Test run.
Important
To create tables, users require one of the following permissions.
- Database administrator
- Application author.
In addition, the following permission is required for users to create applications.
- Application author.
At the same time, to create actions to insert, update, or delete a table, the following permission to the table is required.
- Edit
See Set Permission for table Setting for information on how to set table permissions.
