Set Privilege per Data
- Users belonging to the admin group can view all data.
- Users belonging to the general group can view only the data they have registered.
For users in the admin group

For users belonging to the general group
Hint
Set up groups of privileges
See also
For information on how to create a group Register Group for information on how to create a group.
Modify the action set and set display limits
Open the action set.
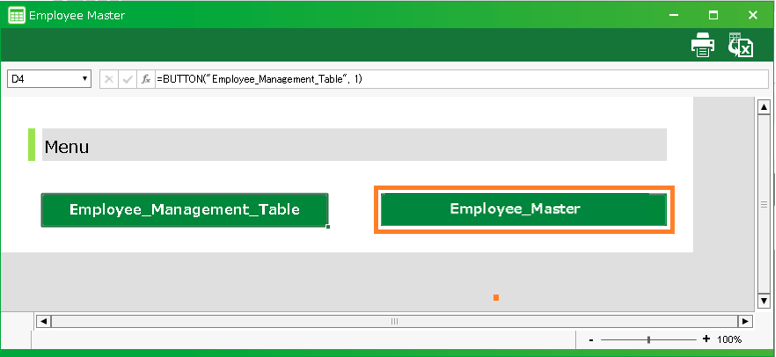
- Double-click the target sheet from the app sheet list to open it.

Tip
The example is illustrated with an application created in Excel, which is listed in the 'Tutorial on the Function of Create an App from Excel file'.
Hint
The sheet that opens here is the sheet that is displaying the data.
- When the sheet opens, click on Action Set Settings and double-click on the 'Redisplay' action set.
Tip
The Redisplay Action Set is an action set for retrieving data from the database and updating the screen.
Hint
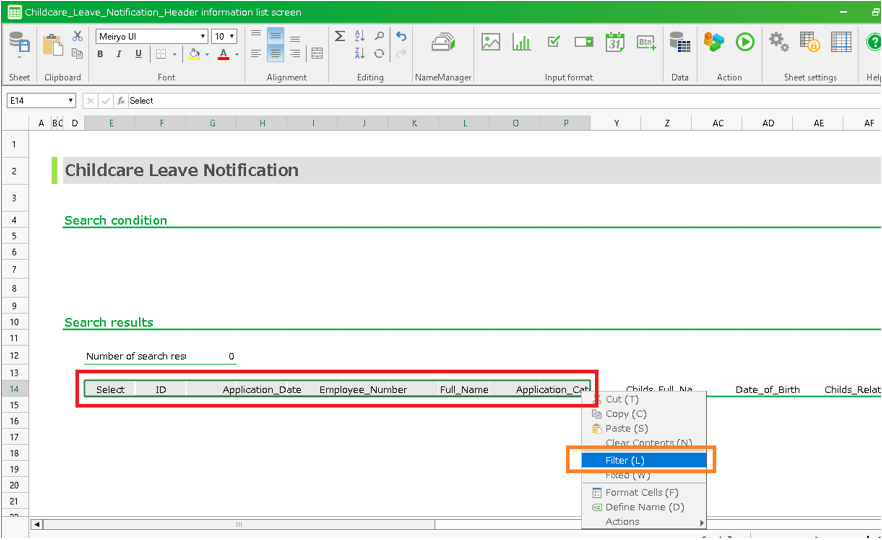
The example shows the restrictions on the display of data to be shown in the table area.To restrict the display of data on the Header Information List screen, open the 'Header Information List Screen' sheet and modify the 'List Display' action set.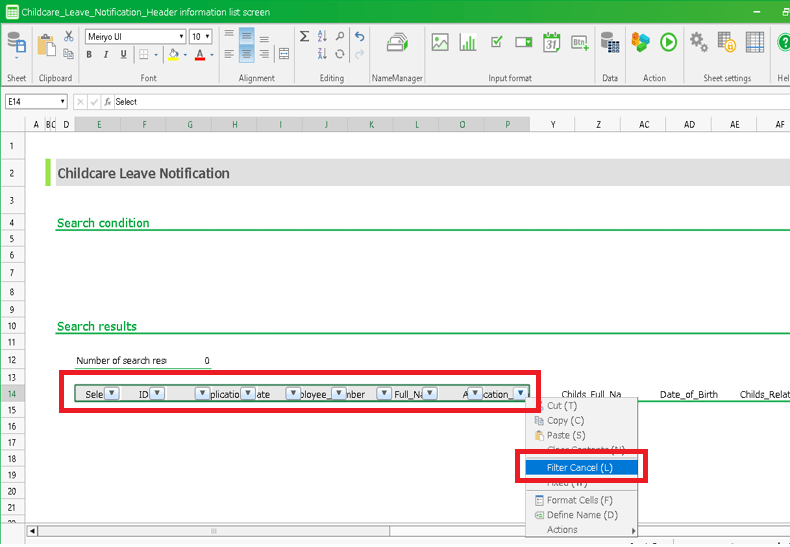
Attention
About App modification will initialize the 'Redisplay' action set and 'List Display' action set.Please note that any corrections you make on this page will also be deleted.
Modify action set
- When the 'Action Set Settings' dialog opens, find the action that retrieves the data for the table you wish to restrict the display of.
[1] This action is to get the number of data exists in the target table.
[2] This action retrieves data from the target table and displays it on the sheet.
Hint
There are different types of actions to retrieve data from a table.If you want to know about actions to retrieve data, you can use Data operation .Tip
In the example, the action is targeted at actions where the reference table is retrieving data from 'List Sample_Tokyo Branch_list' in order to restrict the data to be displayed in the table.
- Place the 'if []' action below the action found in 1.
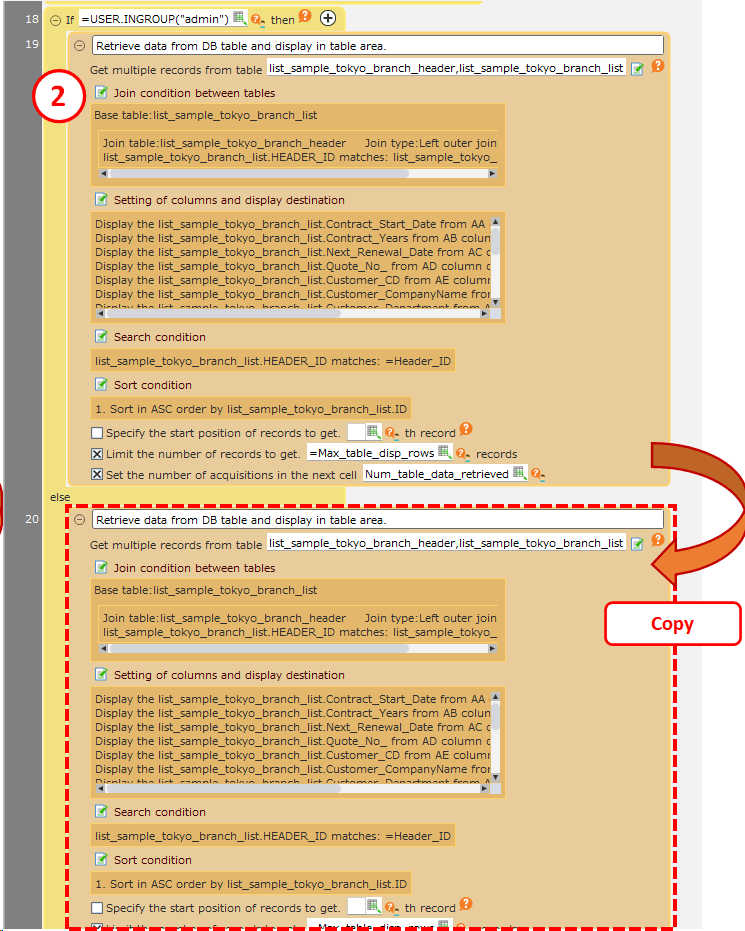
- Enter "= USER.INGROUP("admin")" in the condition of the action placed in 2.
Hint
If the group ID you want to display is "users1", then "= USER.INGROUP("users1")".
- Arrange the actions found in 1 to be executed when the conditions set in 3 are met.
Hint
With this setting, all data will still be displayed if the user who launched the application is in the admin group.
- Copy the action found in 1 and place it to run in the case of 'else' in the action placed in 2.
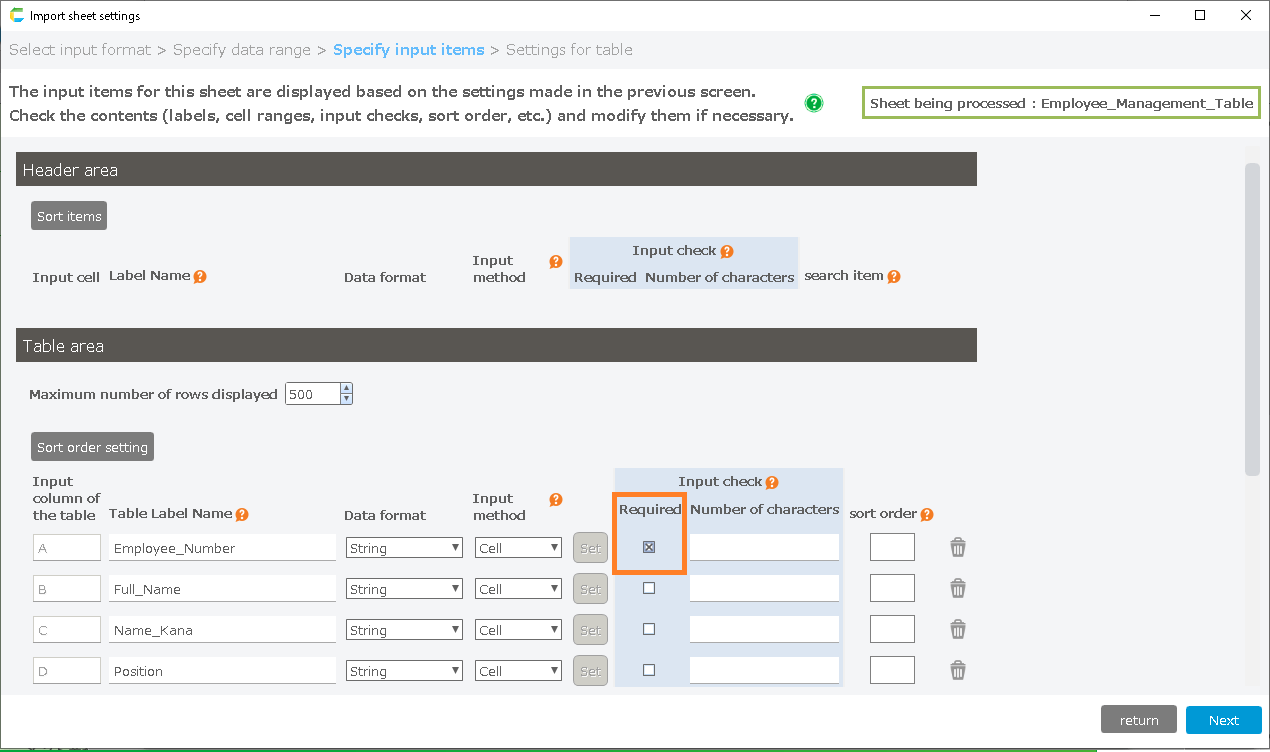
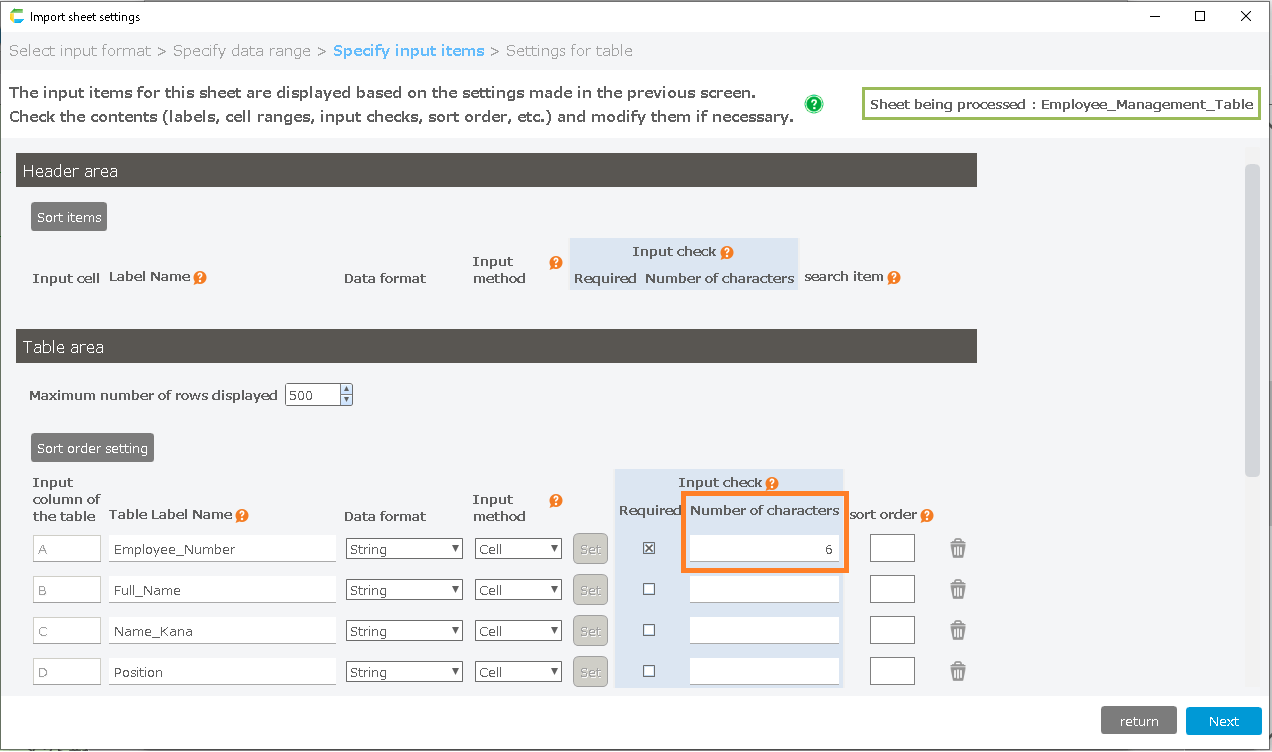
- Add a search condition to the action placed in step 5 to display only the data you have registered.
To add search conditions, click the icon next to the search condition. Select "~.LAST_UPDATER", the second from the bottom, from the list box on the left. In the text box on the right, enter "=USER.ID()".By adding this condition, when retrieving data from the database, only data that you have registered will be retrieved.
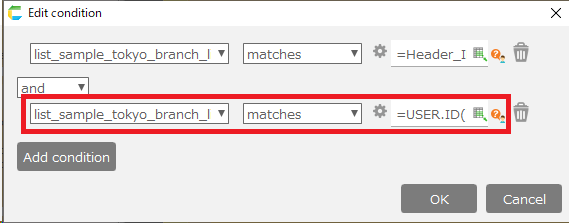
Hint
If search conditions have already been set, click the 'Add' button and specify 'and' as the join condition between conditions.
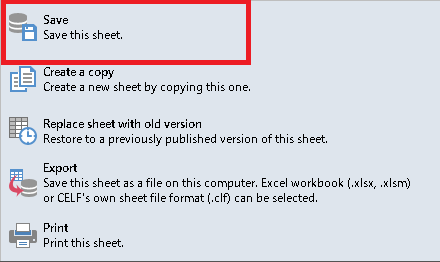
- Click the "OK" button to save your changes.
- Click the icon in the top left corner of the sheet and select "Save" to save the sheet.
Check the operation of the app
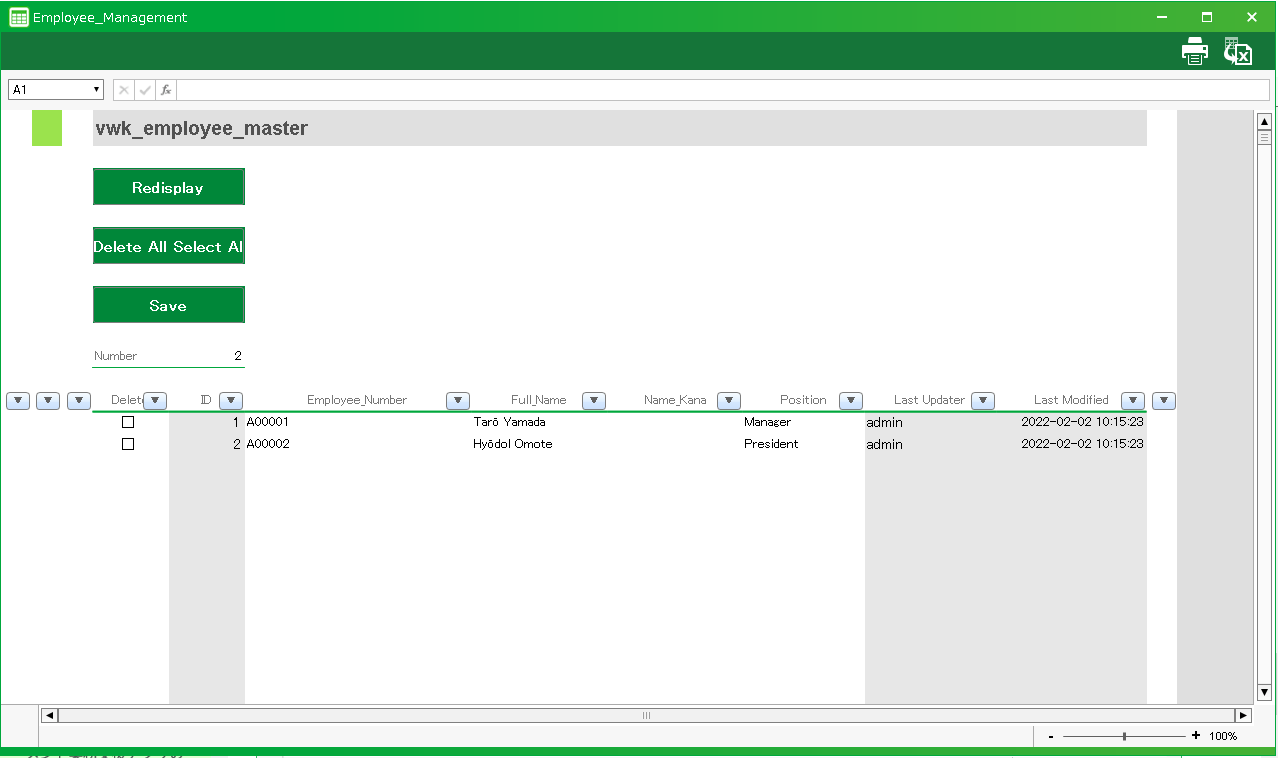
- If you login as a user belonging to the admin group, verify that all data is displayed.
- If you log in as a user belonging to a general group, make sure that only the data you have registered is displayed.