2. Register information of data to be circulated
Once circulated as a circulation target, data can be circulated through workflow actions.
The following steps are required.
- Register a circulation route
- Register as a circulation target
2.1. Register a circulation route
Note
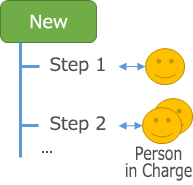
A circulation route is a route that specifies the person in charge of circulation the data and the order.
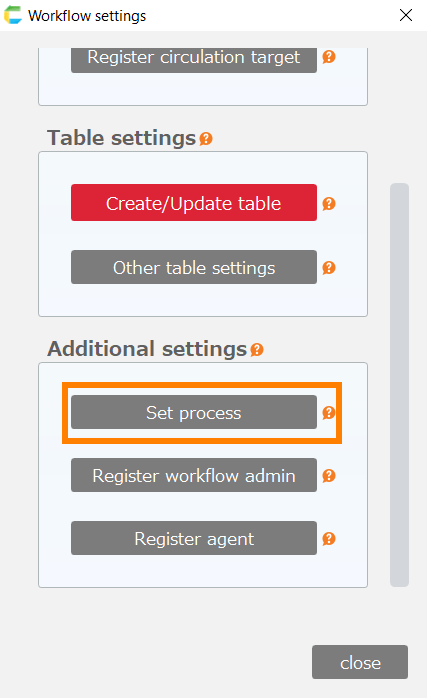
- Click on the setting button
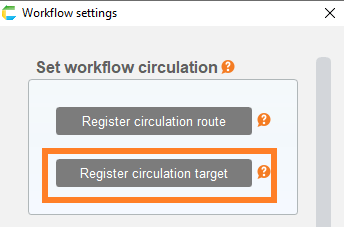
- Click on the 'Register circulation route' button.
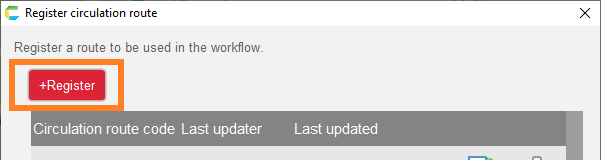
- Click the 'Register' button in the dialog that opens.
- In the 'Specify circulation route' dialog box, enter 'sample route' in the 'Route code' field and click the 'Register Step' button under 'Status: Approving.
Tip
The status 'New' or 'Approving' is registered in the workflow settings.
For more details, please refer to Set up the circulation process
Here, the initial setting values are assumed.
- In the 'Set circulation step' dialog box, click the "OK" button.
Note
As a result, it will be circulated from the drafter to one approver.
- In the increased 'Approval' row, click the 'Set contact person' button and select any contact person other than the special user.
Tip
For information about special users, please see Register a circulation route .
- Click the 'OK' button in the 'Specify circulation route' dialog box, and click the 'Close' button in the 'Register a route' dialog box.
2.2. Register as a circulation target
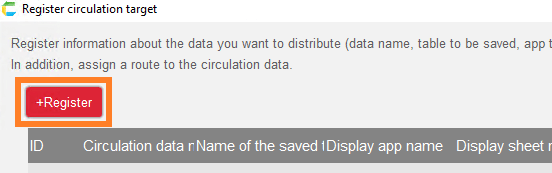
- Click on the 'Register circulation target" button.
- Click the 'Register' button.
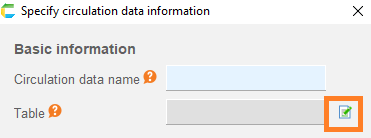
- In the 'Circulation data name' field, enter "Personnel Transfer Request Form ".
- Click the Edit button next to the table item and select the 'personneltransferrequestform_header' table in the dialog that opens.
Note
The table selected here will have the following characteristics (referred to as a header table).
- Data to be circulated is saved in it.
- Data is identified by the value in the ID column.
- Click the Edit button next to the sheet item and select the 'personneltransferrequestform_header' sheet in the 'personneltransferrequestform_header' application.
- Click the 'OK' button.
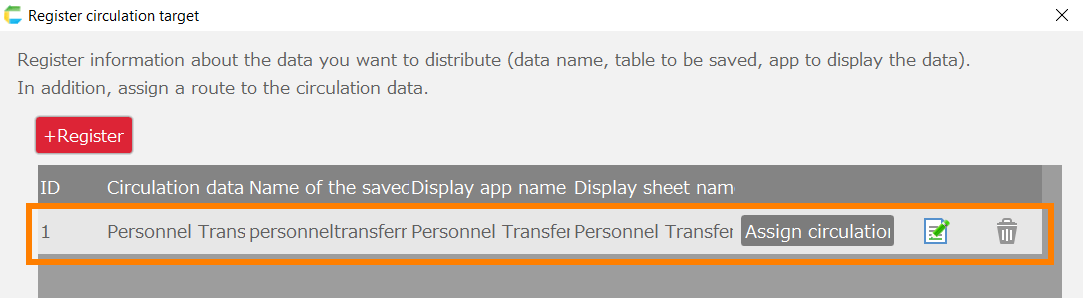
- In the added row, click the 'Assign circulation route' button.
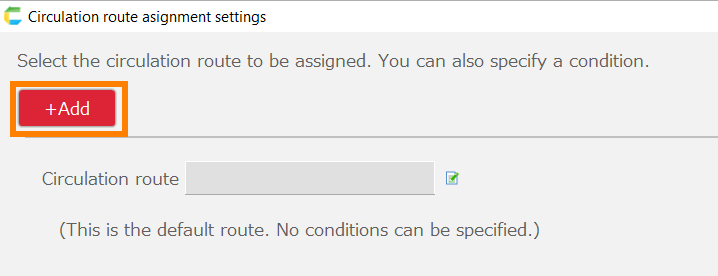
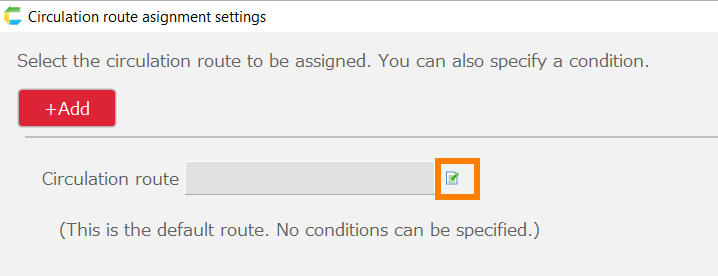
- Click the edit button next to the circulation route item in the opened dialog.
- Select the 'sample route' and click the 'OK' button.
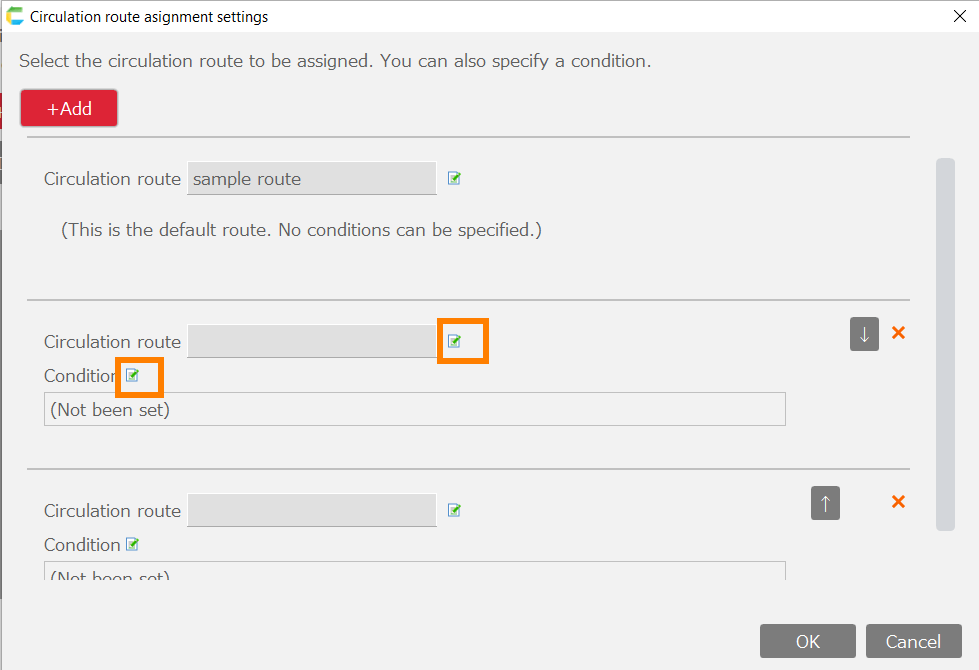
Tip
You can specify multiple circulation routes. For details, please refer to Register circulation targets.
- Click the 'OK' button in the 'Circulation route asignment settings' dialog box, and click the 'Close' button in the 'Register circulation target' dialog box.
2.3. The next step
Next, do Embedding Workflow Actions.