How to Use Multiple sheet combination Application
In this section, we’ll explain how to use the Multiple sheet combination application automatically created by "Create app from Excel file" function.
Advance preparation
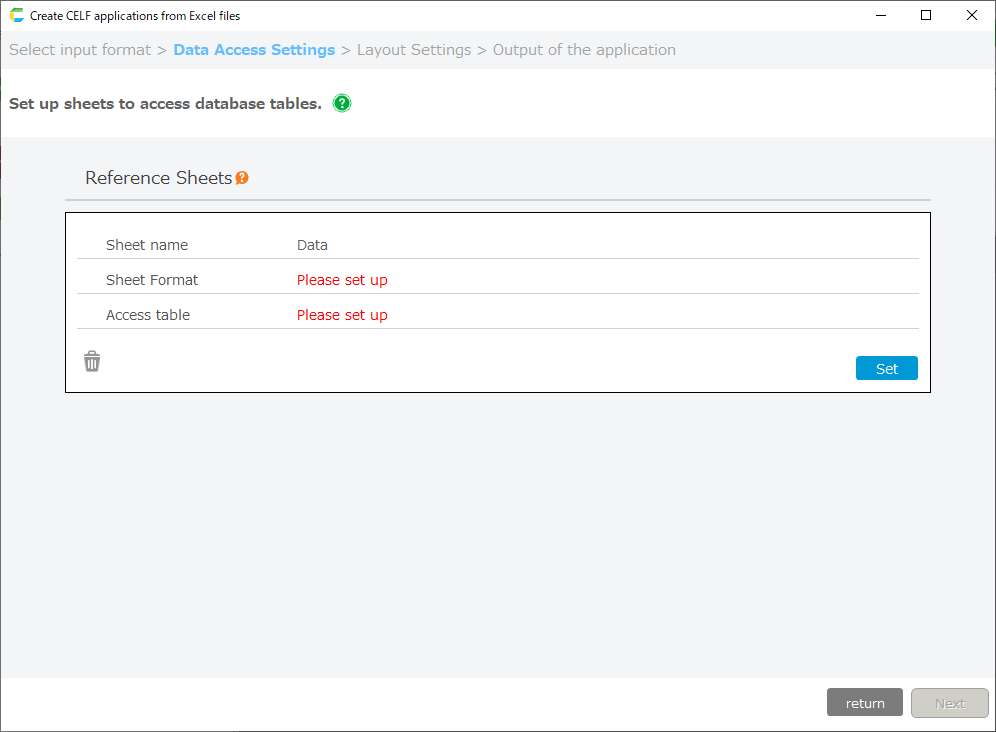
Set the "Save" button on the layout sheet in advance of using the Multiple sheet combination application.
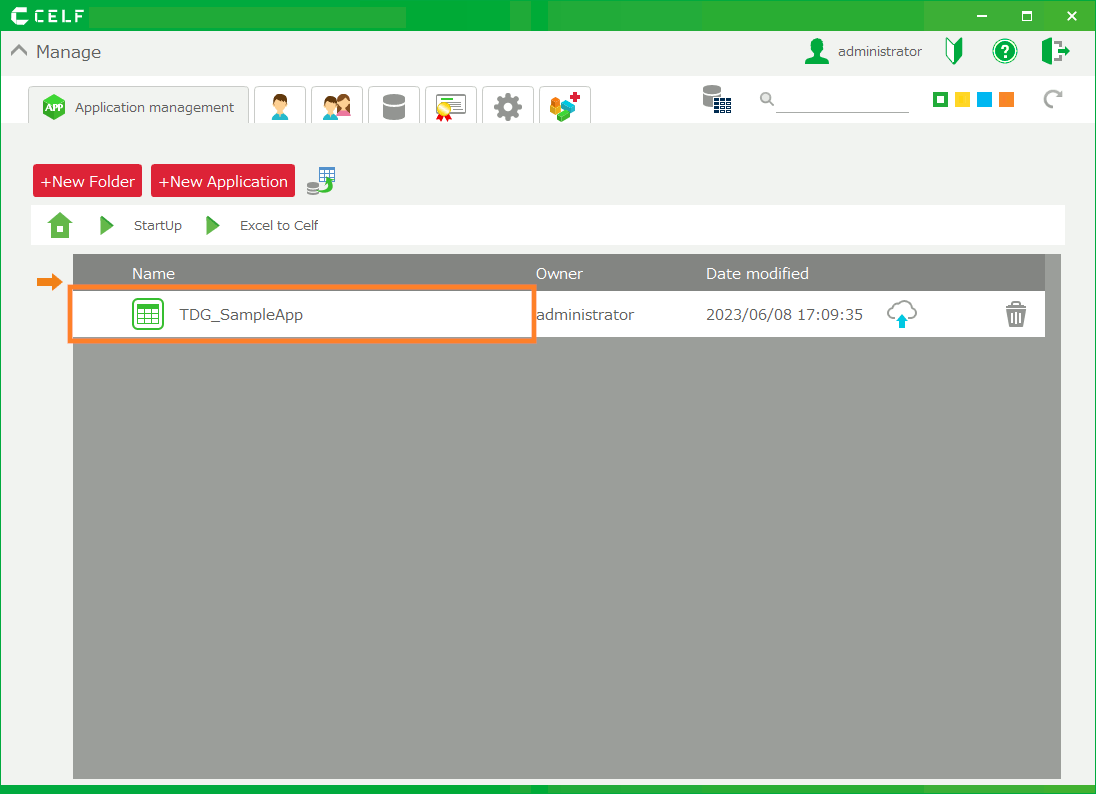
- Double-click "[Multiple sheet combination application]" on the administration screen.
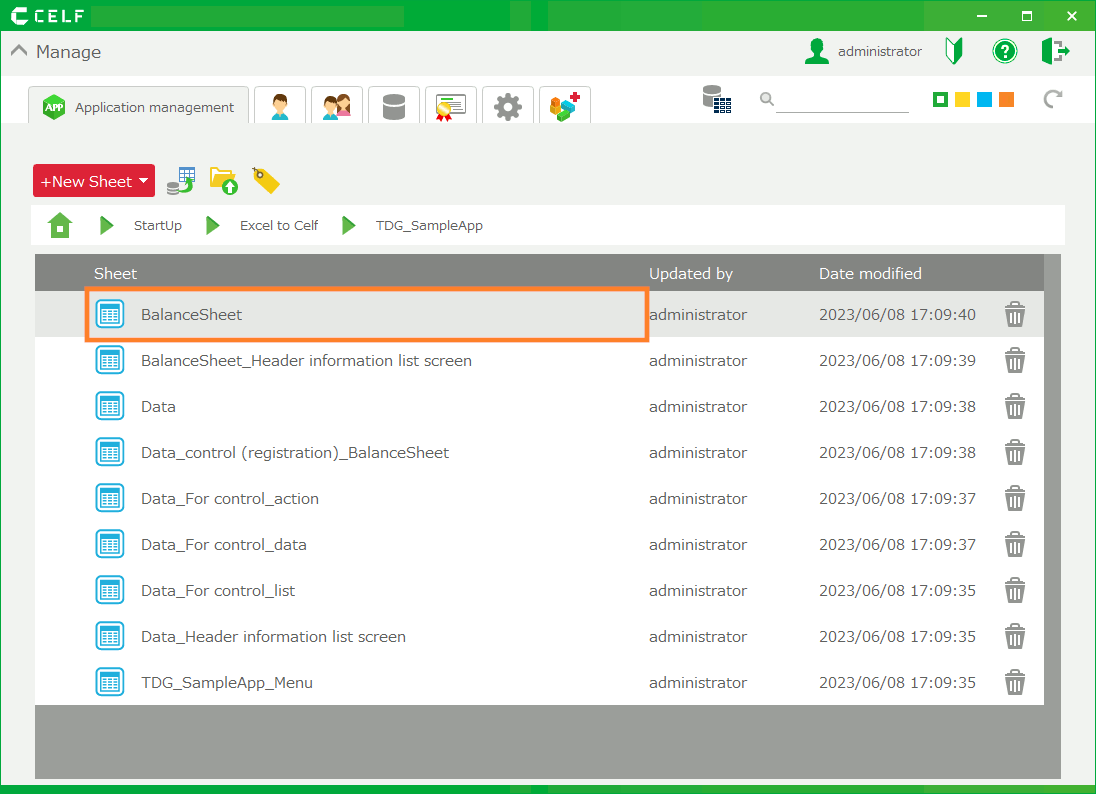
- Double-click "[Layout sheet]".
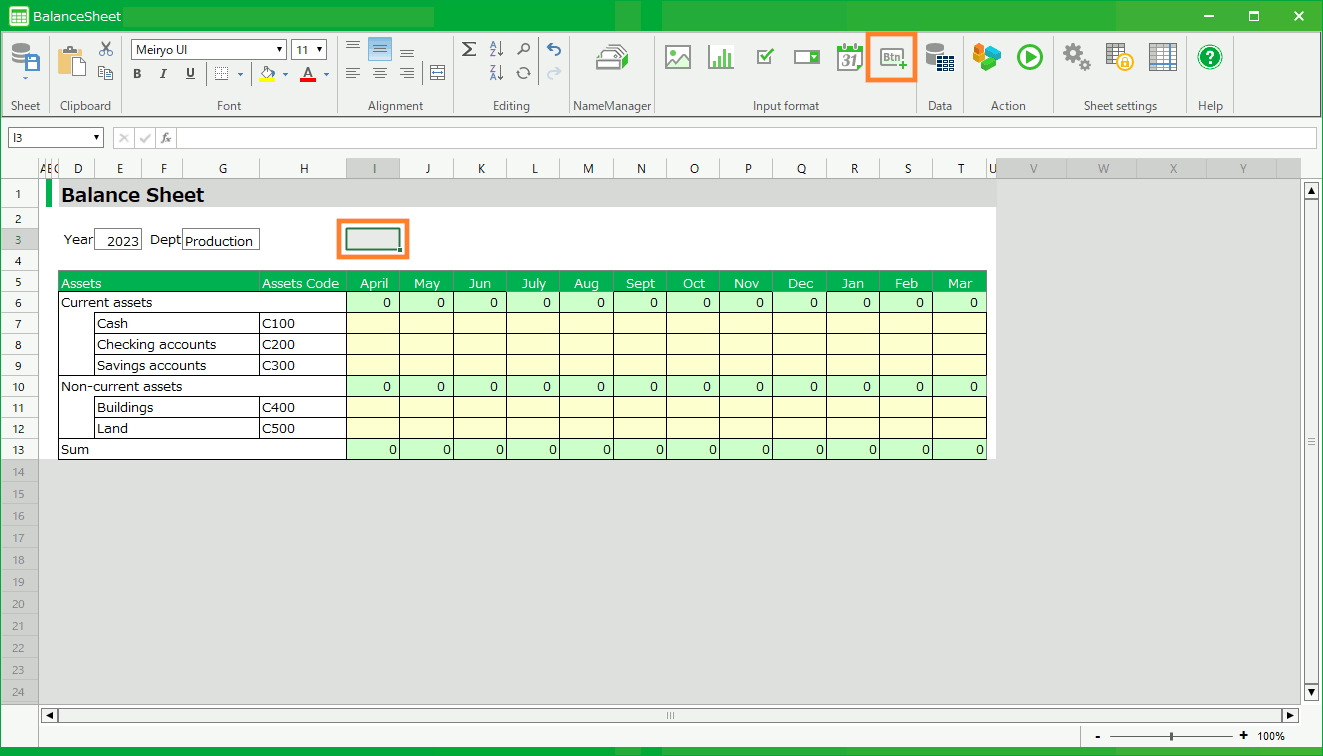
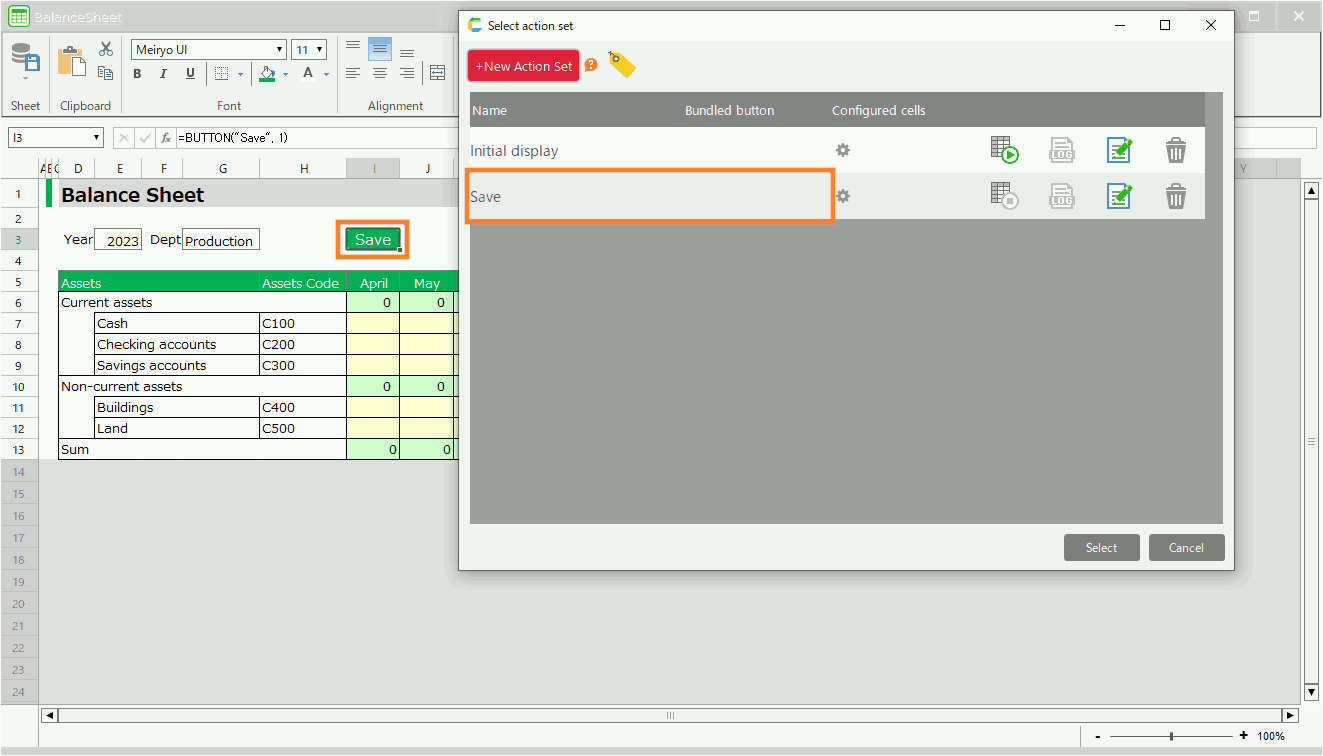
- The "[Layout sheet]" sheet will be displayed. Select the cell where you want to place the button and click the "Create Button" icon.
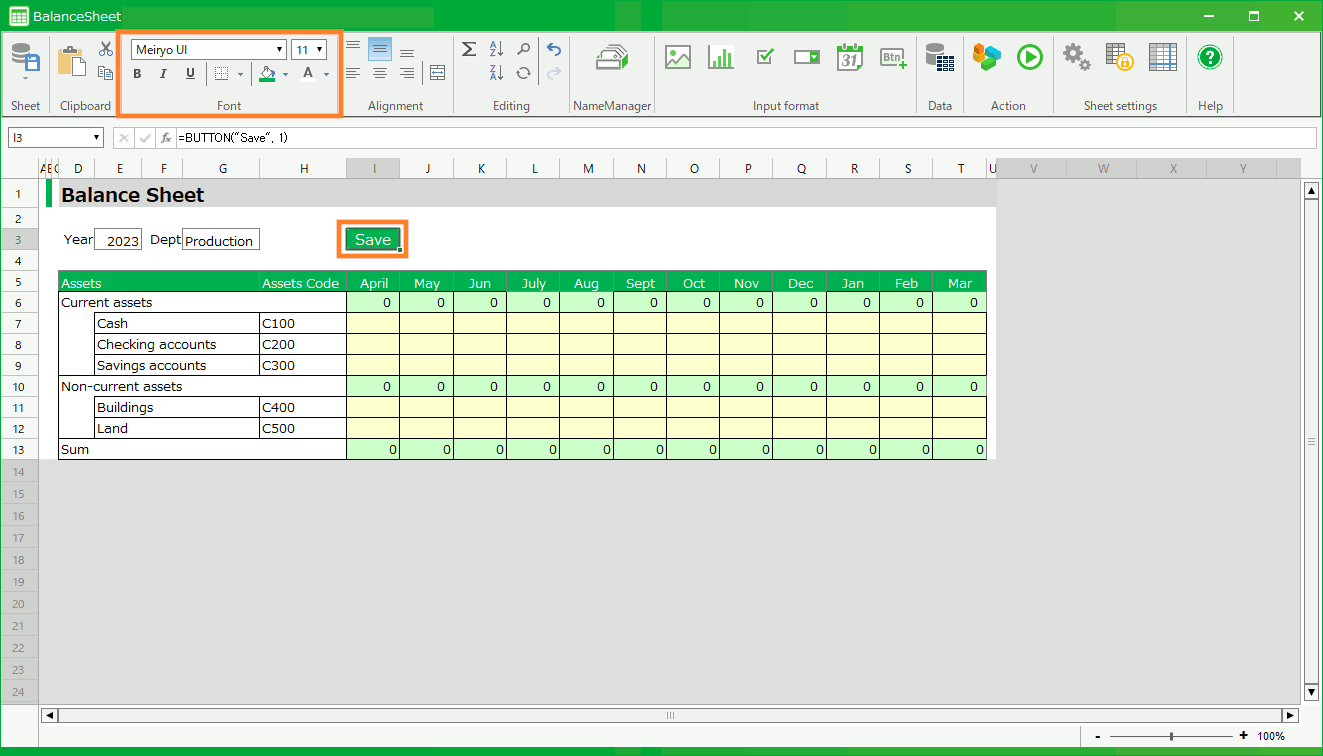
- Change the button name from "OK" to "Save". Button color and text color can be changed from "Font".

- Click the "Save" button you created. The "Select action set" screen will be displayed. Click "Save" and then click the "Select" button.
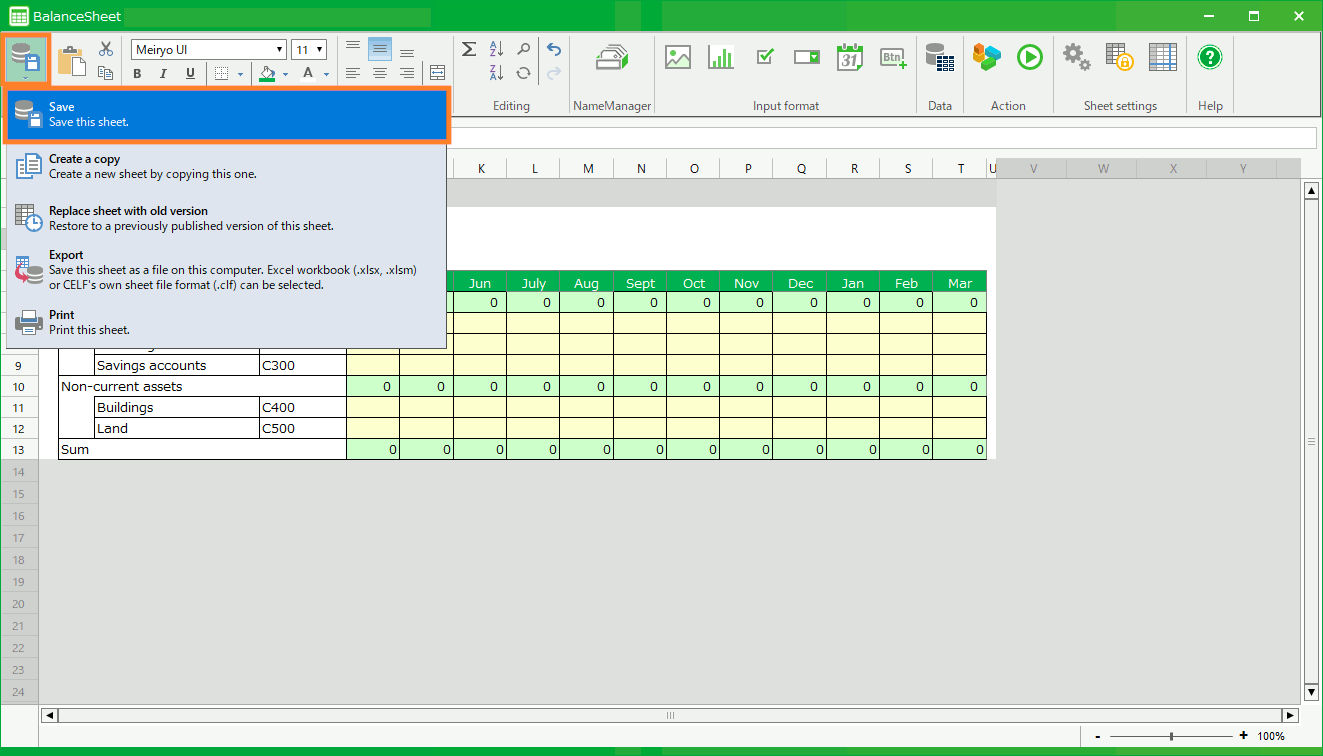
- Click the "sheet" icon, then click "Save".
Show data in table (aggregate type)
- Launch the published app.
- When the application is launched, the menu screen will open. Click the "[Layout sheet]_Header information list screen" button.
- The search screen will open. Select the data you want to see the details of from the list and click the "Detailed view" button.
- The main screen will open and the details of the selected data will be displayed on a single sheet.
Tip
If there is no data to choose from on the search screen, see "Add new table".
Show data in table (shared type)
- Launch the published app.
- When the application is launched, the menu screen will open. Click the button named [Layout sheet].
- The main screen will open and the data will be displayed in a list.
Update table data
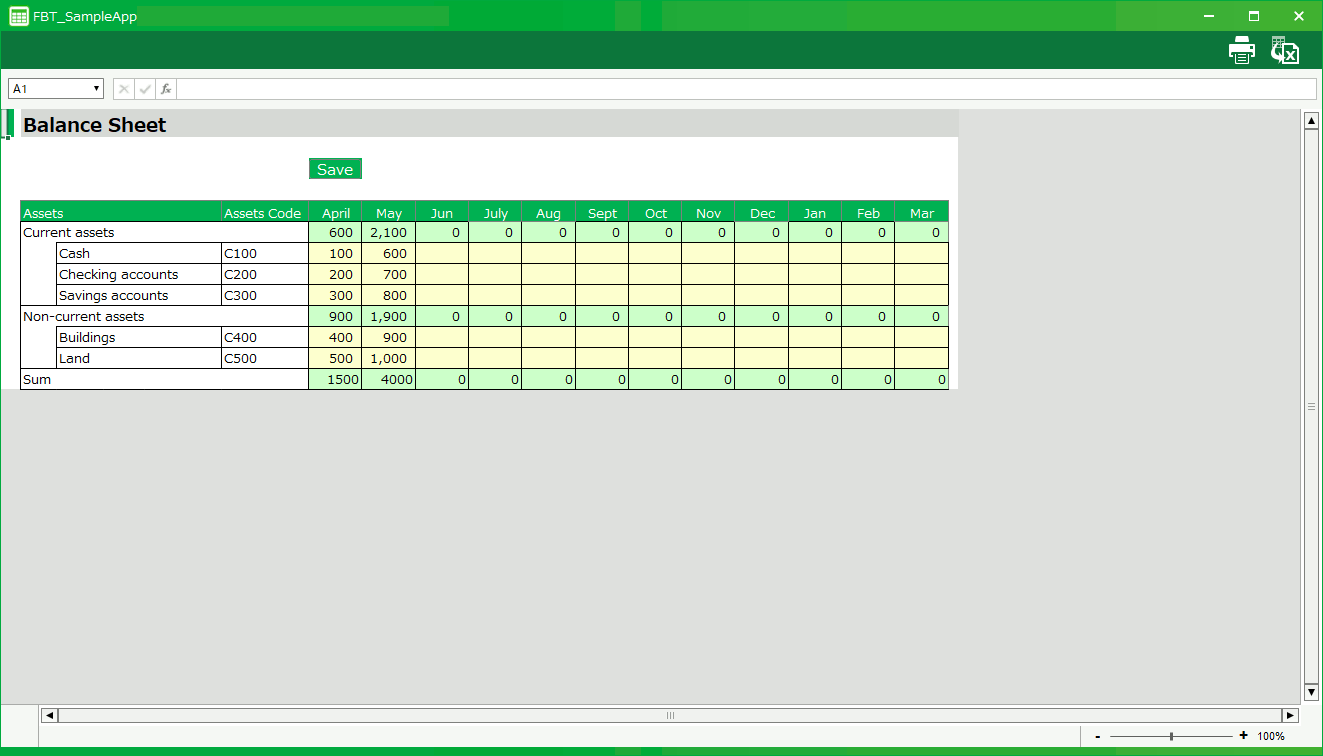
- Launch the published app and open the main screen.
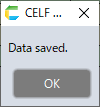
- After editing the data, click the "Save" button.
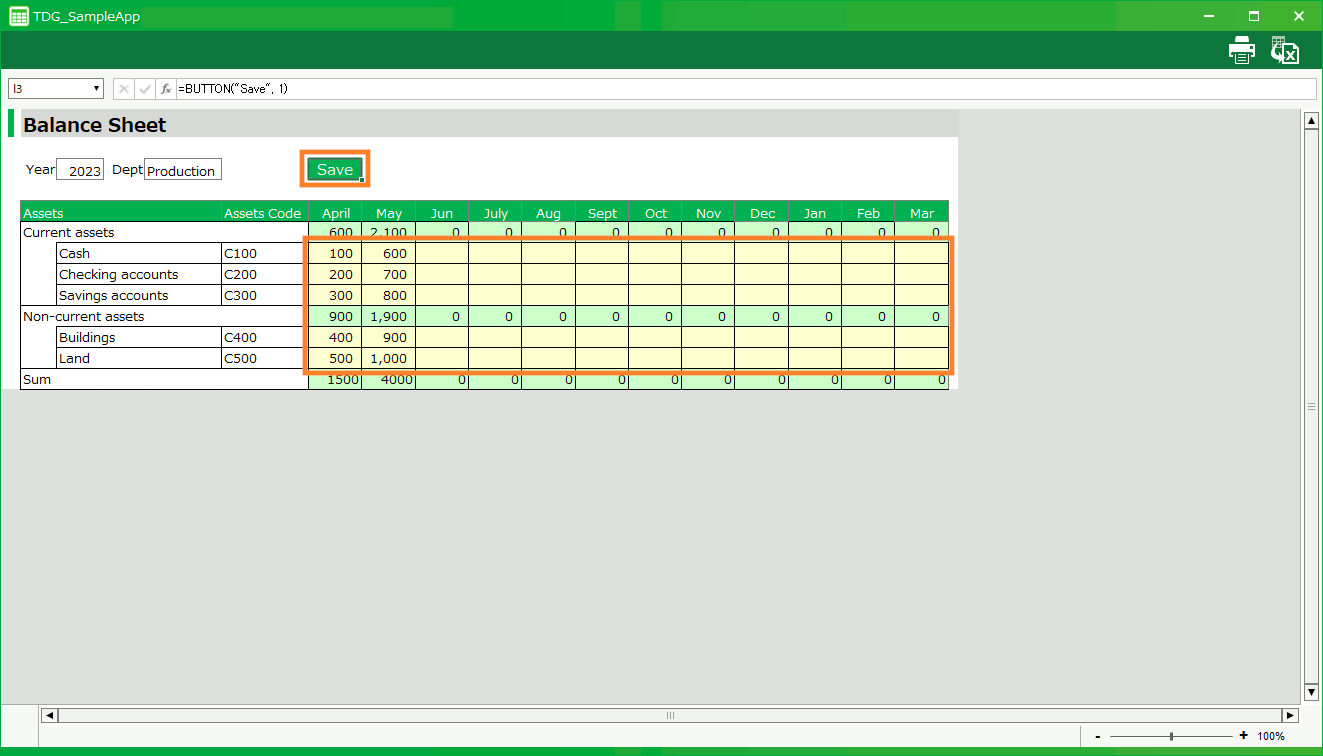
- A pop-up will appear and the database will reflect your edits.
Add a new table (aggregate type)
- Launch the published app.
- When the application is launched, the menu screen will open. Click the "[Layout sheet]_Header information list screen" button.
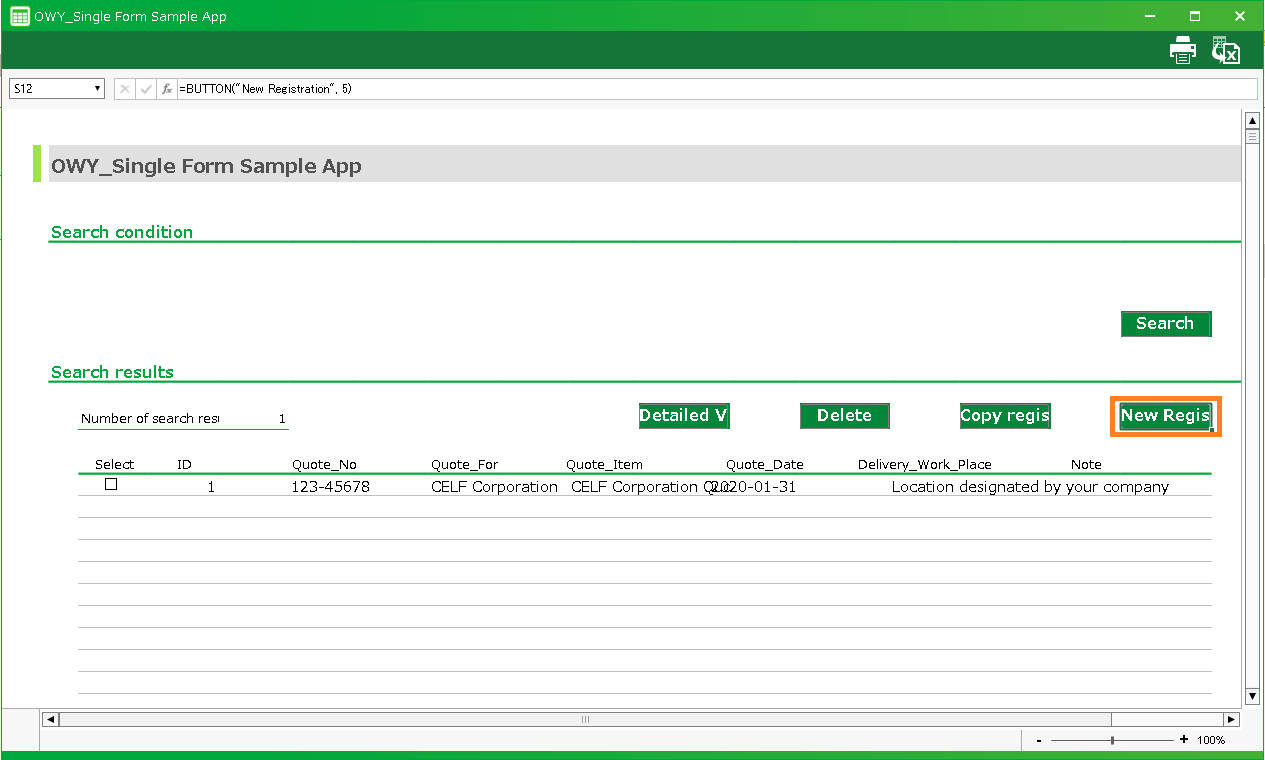
- The search screen will open. Click the "New Registration" button.
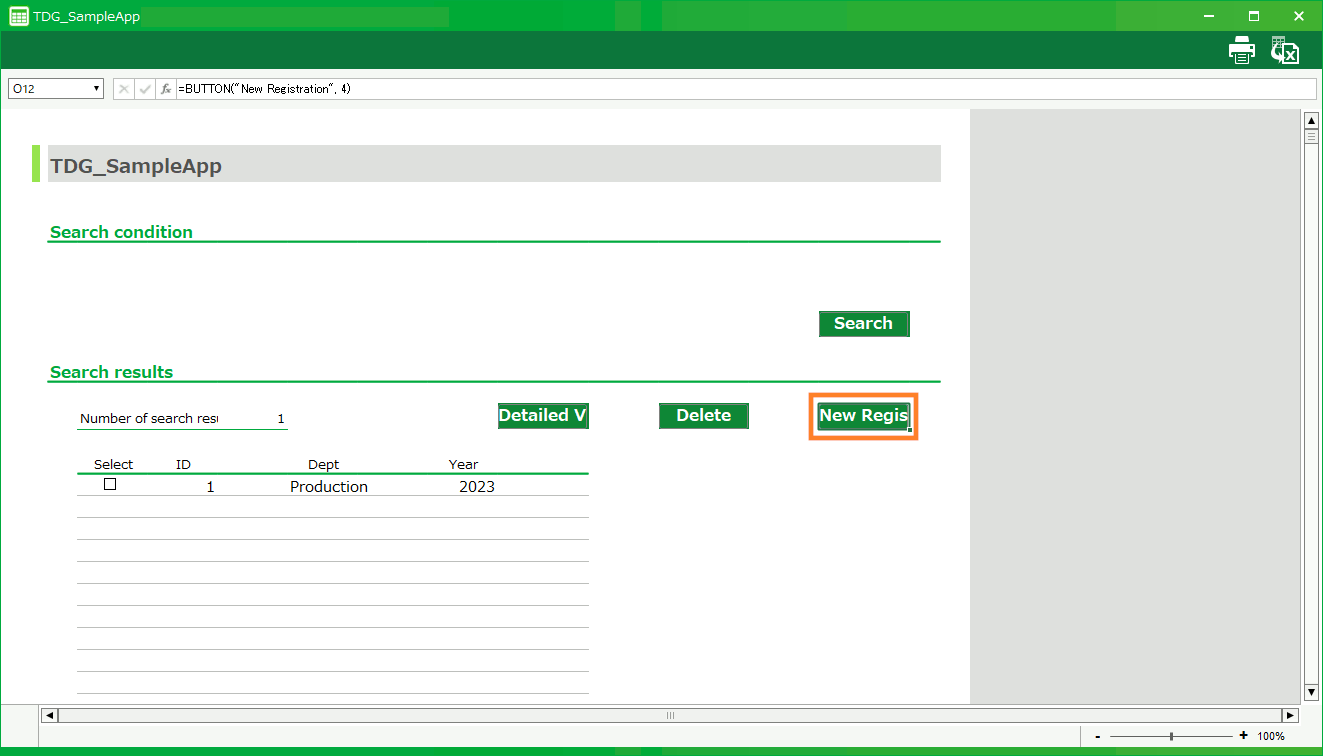
- The main screen opens and a table with no data registered is displayed.
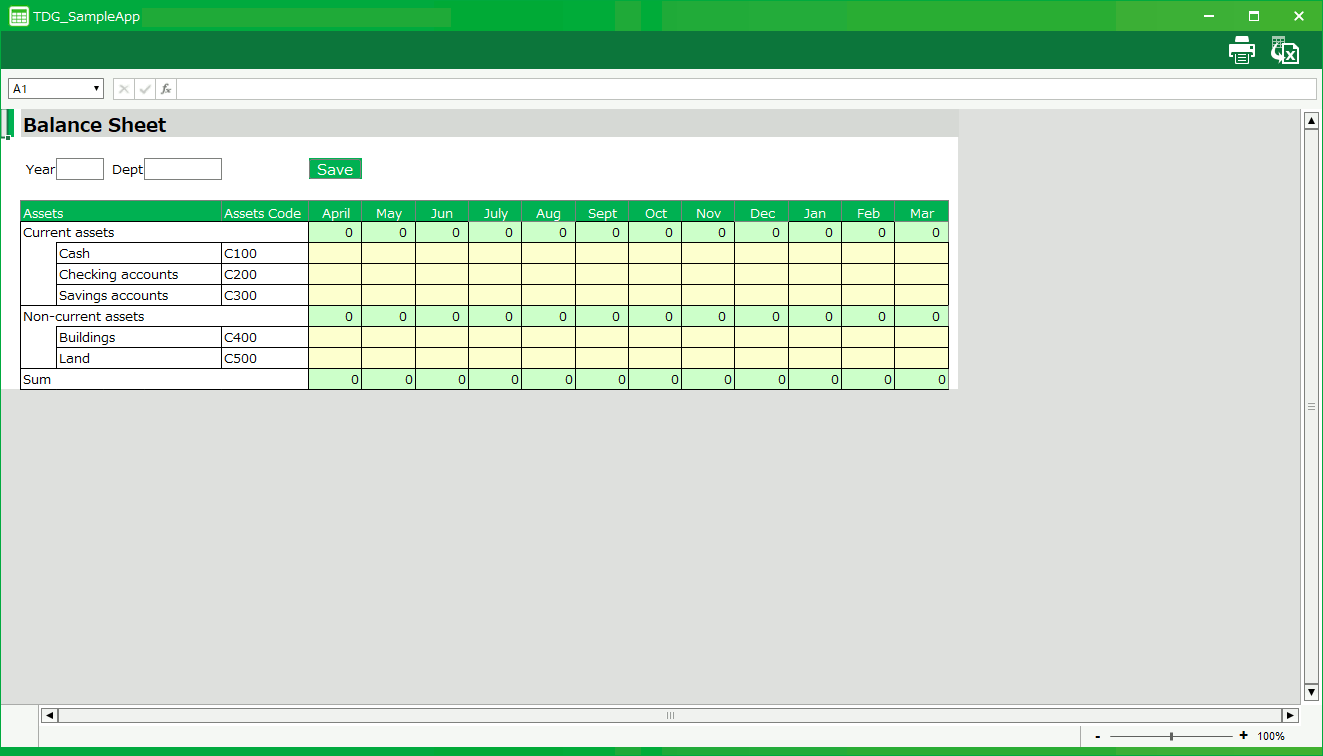
- Enter the data in the header area and click the "Save" button.

- Return to the search screen and click the "Search" button.
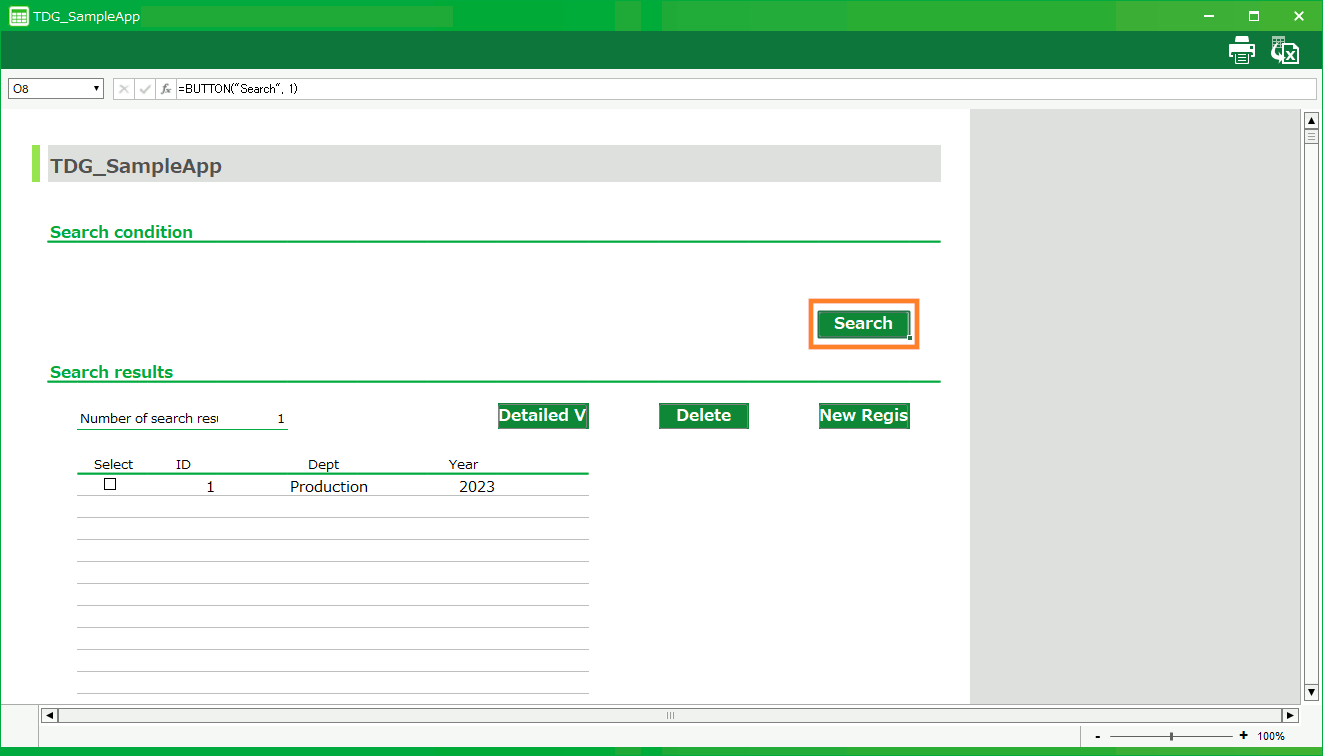
- The data registered in the list is displayed and a new table can be selected.
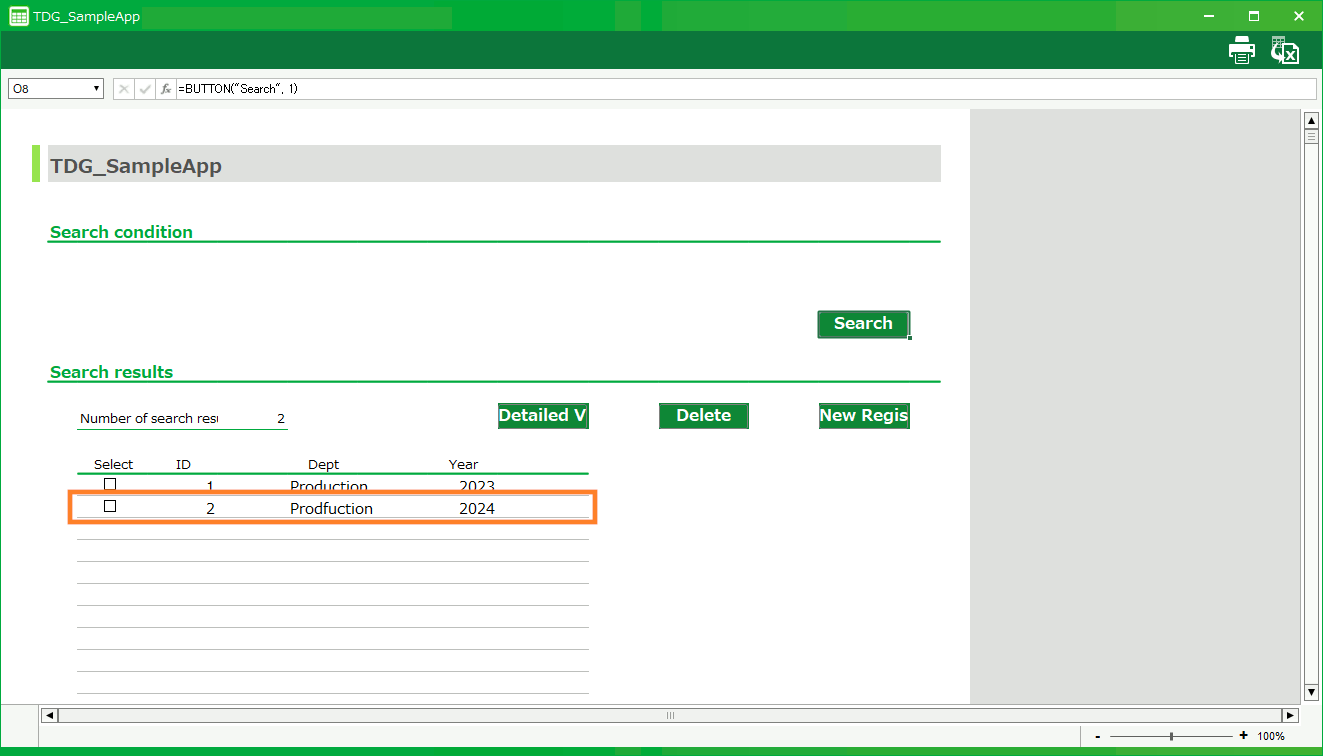
Delete table (aggregate type)
- Launch the published app.
- When the application is launched, the menu screen will open. Click the "[Layout sheet]_Header information list screen" button to open the search screen.
- Check the data you want to delete.
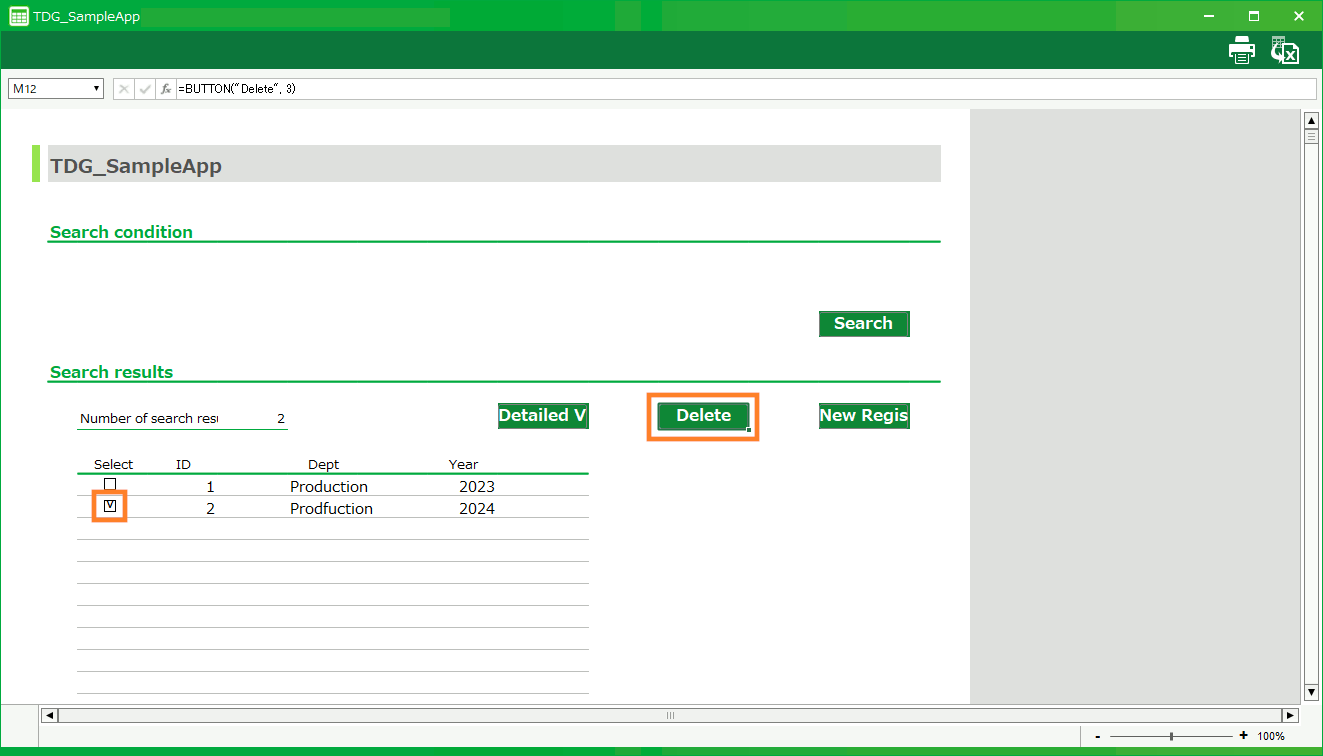
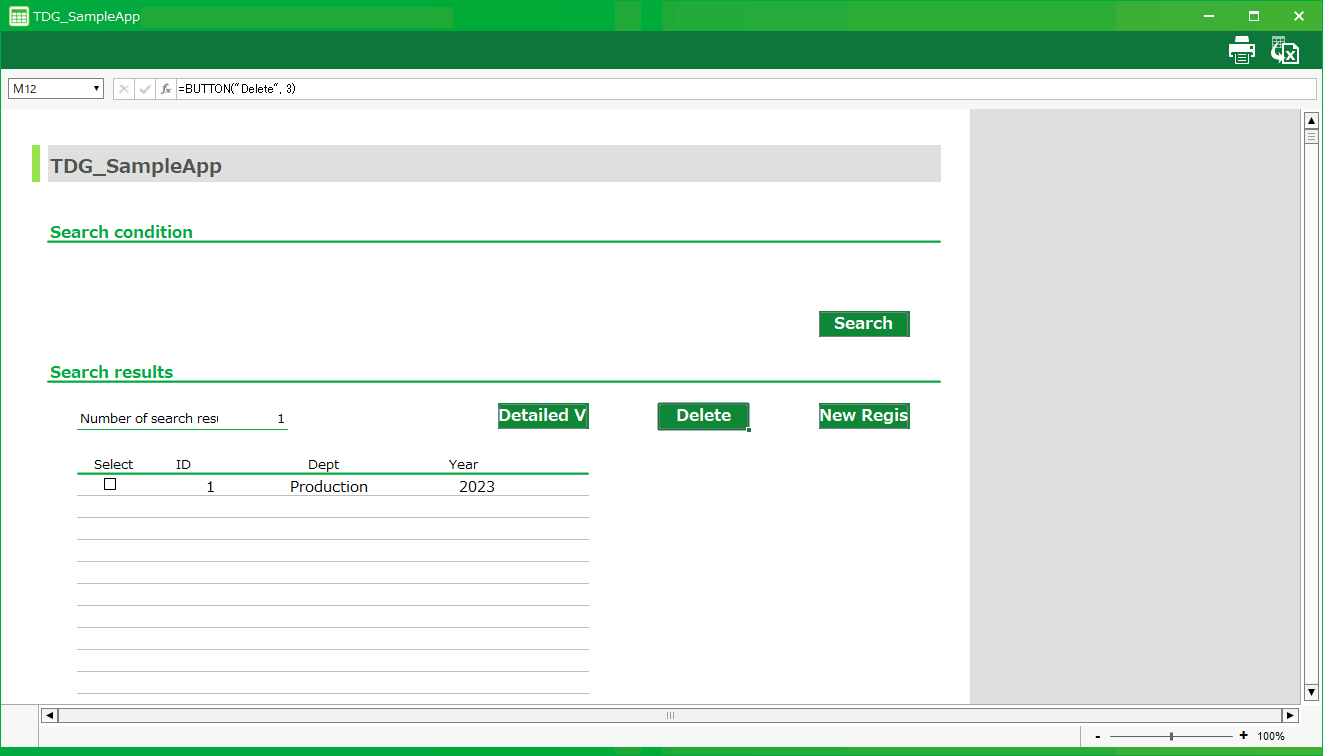
- Click the "Delete" button. The list is updated and the data after the deletion is displayed.
Attention
Deleted data will be deleted from the database.If you want to undo it, you need to back up the data in the table beforehand.For more information on backing up table data, see Export Table Data (CSV).Tip
If you don’t know which table to back up, you can check the table switching tab in the app publishing settings.For more information on app publishing settings, please refer to Publish the application.
How to use the data sheet screen
The structure of the data sheet screen is the same as that of the List application. For information on how to use it, see How to Use List Application.