Modify a single form app
This section explains how to modify a single form app created with the "Create Appn from Excel" function.
Change input item settings
Example of changing input item settings
As an example of input item settings, this section describes how to set a 'digit check' for the input column of a app that you have created.
How to change input item settings from the edit screen
- About App modification to start editing the app.
- Once the setup screen opens, proceed to the 'Specify Input Items' screen.
- Change the item settings on the Specify Input Items screen.
- When changes are complete, click the 'Next' button and proceed directly to the 'Output of the application' screen.
- Click the 'Complete the editing' button on the app output screen.
See also
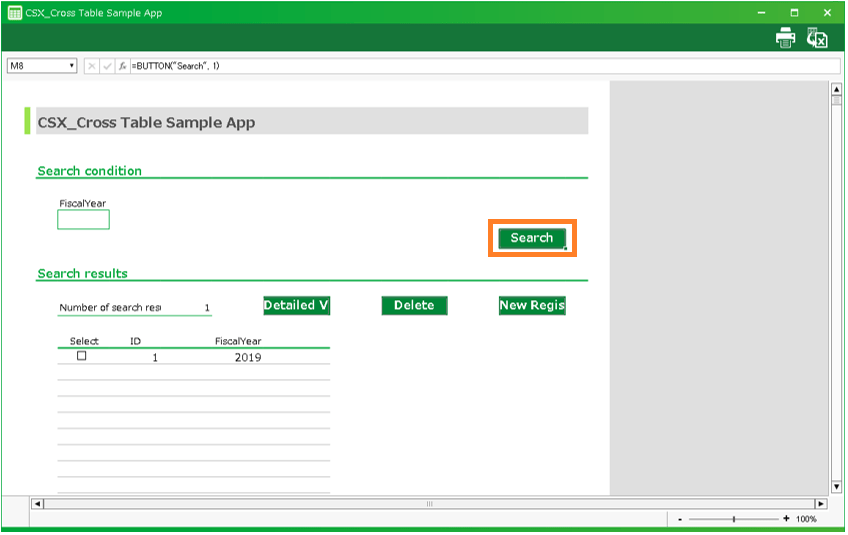
Once you have completed editing your app, you can verify that your settings have been reflected by test running the sheet.For more information on running tests, see Test run for more information on running tests.
Add header items
Example of adding a header items
As an example of adding header items, the following explanation is based on a single form app that we have created.
How to add a header item from the edit screen
- About App modification to start editing the app.
- Once the setup screen opens, proceed to the 'Specify Data Range' screen.
- Specify the cell to be the new input item on the Specify Data Range screen.
- After completing the designation, click the 'Next' button.
- Set up the items on the 'Specify Input Items' Screen.
- After completing the input items, click the 'Next' button.
- On the 'Settings of table' screen, confirm that the items added to the header table are displayed and click the 'Next' button.
Tip
When adding a new cell to be entered, a column is also added to the table to be saved.
- Click the 'Complete the editing' button on the app output screen.
See also
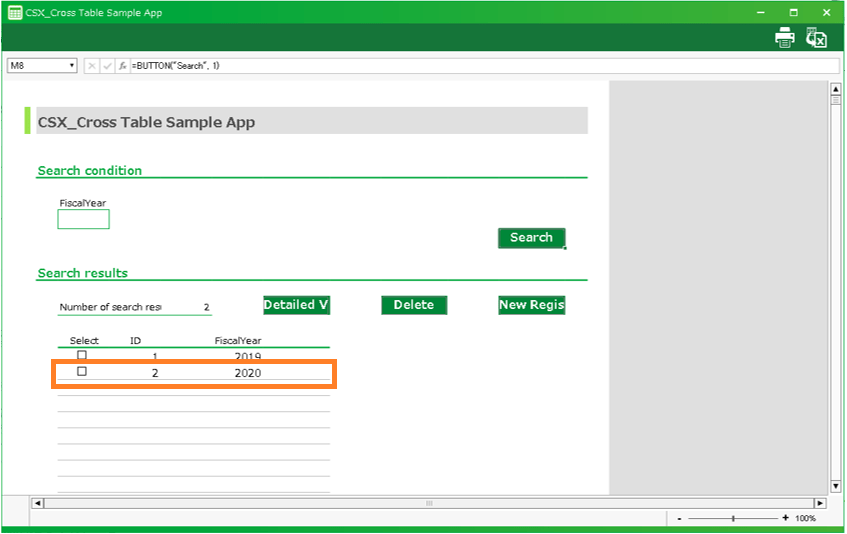
Once you have completed editing your app, you can verify that your settings have been reflected by test running the sheet.For more information on running tests, see Test run for more information on running tests.
Remove header items
Example of removing header items
As an example of deleting header items, the following explanation is based on a single form app that was created.
How to remove a header item from the edit screen
- About App modification to start editing the app.
- Once the setup screen opens, proceed to the 'Specify Data Range' screen.
- On the Specify Data Range screen, click the 'trash can' icon for the item to be deleted.
- When deletion is complete, click the 'Next' button and proceed directly to the 'Output of the application' screen.

- Click the 'Complete the editing' button on the app output screen.
See also
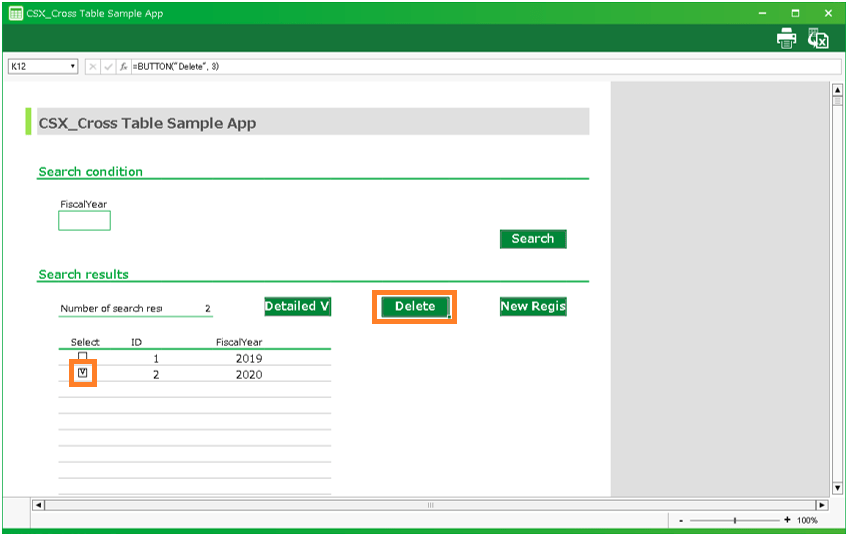
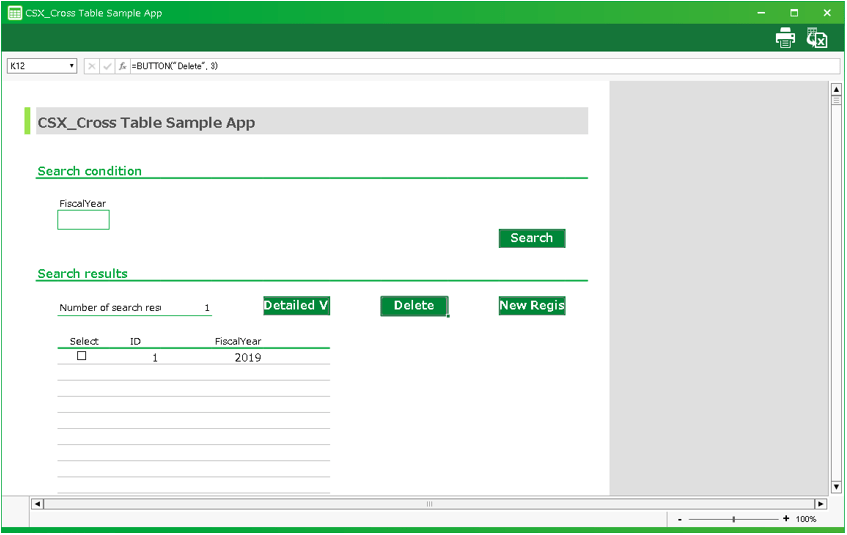
Once you have completed editing your app, you can verify that your settings have been reflected by test running the sheet.For more information on running tests, see Test run for more information on running tests.