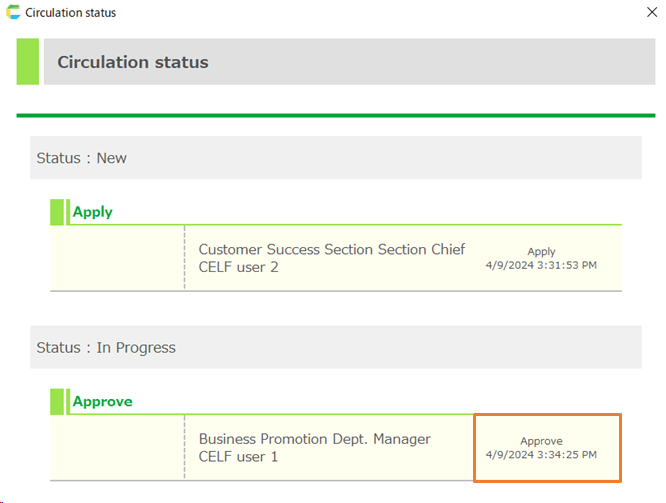
Register Circulation Target
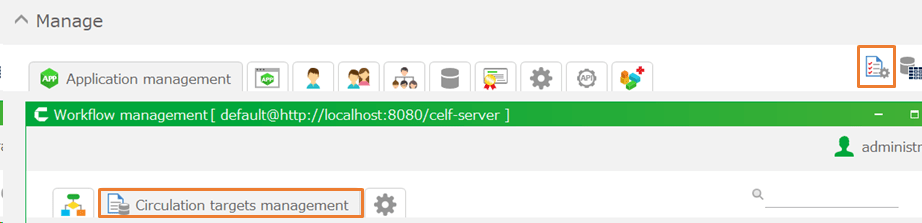
Registration of circulation targets is done in the 'Circulation targets management' tab of the workflow management screen.
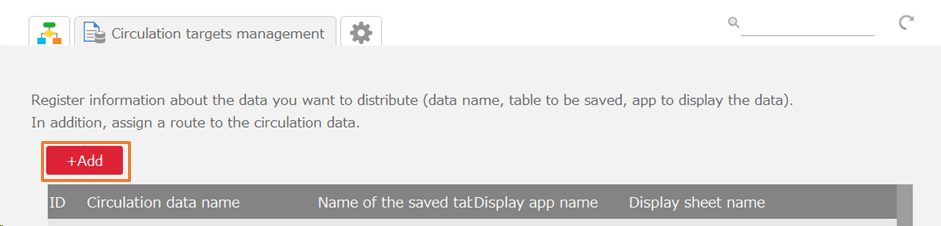
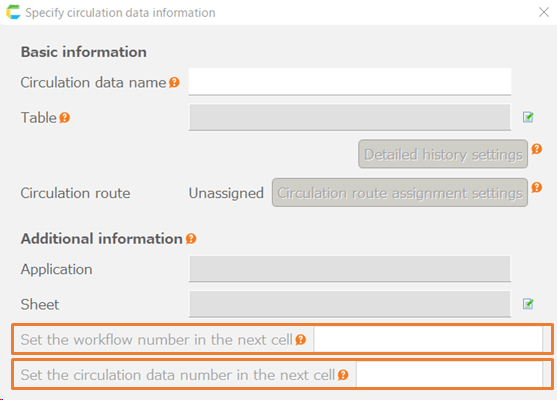
Register a New Circulation Target
- Click the '+Add' button in the 'Circulation targets management' tab.
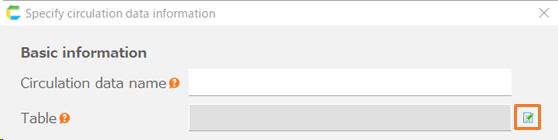
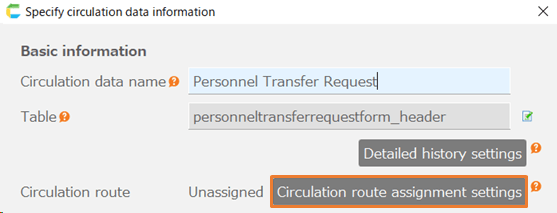
- Enter the 'Circulation data name'. Choose a name that clearly identifies the data to be circulated. (e.g., Personnel Change Application Form)

- Click the edit button next to the table item to specify the table where the data to be circulated is stored.
Note
The specified table must correspond to one line of data representing one circulation data (e.g., one application form in the above example).
- Click the edit button next to the sheet item to select the sheet that displays the table data from step 3.
Tip
- Set the cell locations for the workflow number and the circulation data number on the selected sheet.
Tip
- Perform Assign circulation routes to circulation targets.
- Click the 'OK' button in the 'Specify circulation data information' dialog.
Assign Circulation Routes to the Circulation Target
Set the circulation route for the specified circulation data.
- Click the 'Circulation Route Assignment Settings' button in the 'Specify circulation data information' dialog.
In the opened 'Circulation route assignment settings' dialog, click the edit button and select the route to assign from the registered circulation routes.
The circulation route specified here will become the default route for this circulation data.
See also
For registration of circulation routes, please refer to Register Circulation Routes.
- Click the 'OK' button in the 'Circulation route assignment settings' dialog.
In the Case of Assigning Multiple Circulation Routes
1. Click the '+Add' button in the 'Circulation route assignment settings' dialog.
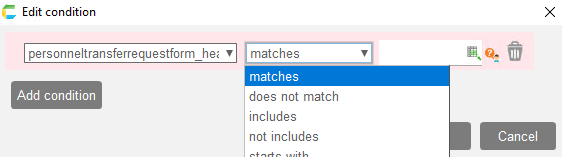
- Click the edit button in the added row and specify the 'Circulation route' and 'Condition'. This circulation route will be used if the specified condition is met.
If Deleting a Circulation Route
Click the 'X' button of the circulation route you want to delete, remove the row, and then click the 'OK' button in the 'Circulation route assignment settings' dialog.

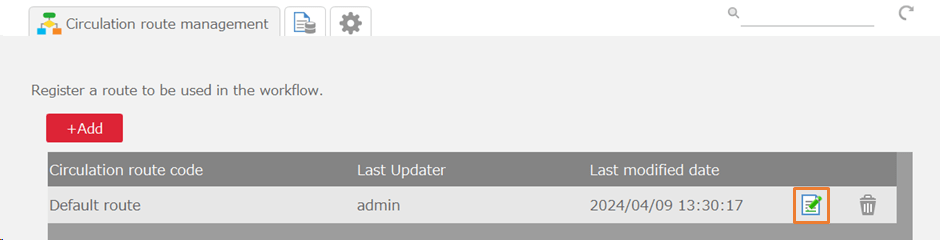
Edit Circulation Target
- In the 'Circulation targets management' tab, click the edit button for the row you want to edit.
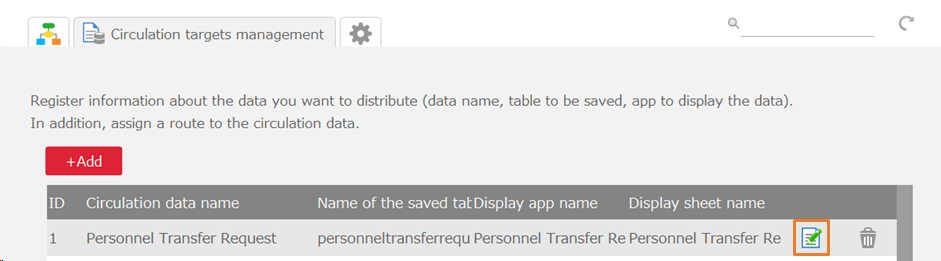
- Edit in the opened 'Specify circulation data information' dialog.
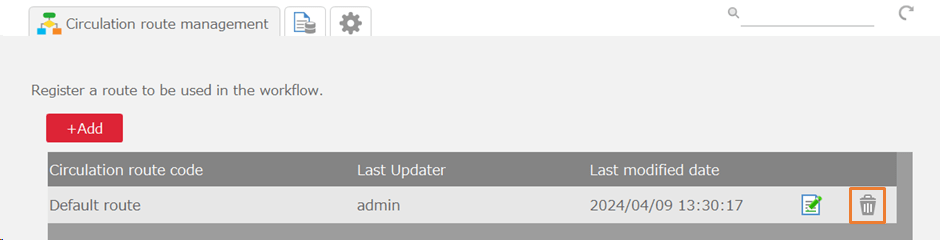
Delete Circulation Target
- In the 'Circulation targets management' tab, click the delete button for the row you want to remove.
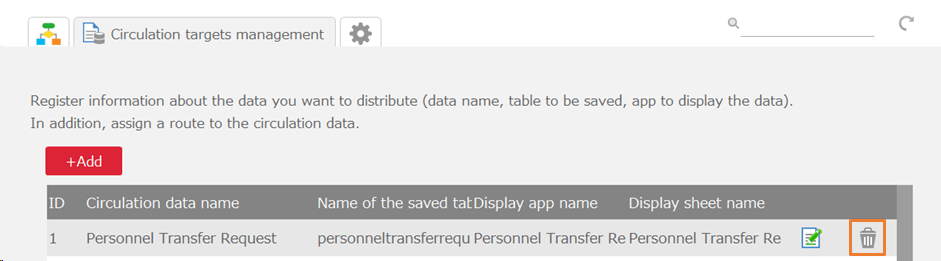
- Click 'OK' when the deletion confirmation message appears.